ipad media station
2025.03.26
Victoria, B.C.
In the summer at anchor, we usually use Rek's main work computer, a Macbook Air 2011, as a media station, but watching movies drains the battery a lot, eating into Rek's work time, so we decided it was time to set up a dedicated media station.
A few years ago, we used a Chromebook for this purpose, but we had to charge it through the inverter(nowadays our laptops are all DC-powered, see charging electronics). We looked into buying some kind of small monitor, which we could wire into our DC system, and watch movies by connecting an external hard drive. Unfortunately, much of the 12V monitors we looked at were very expensive, or too cheap.
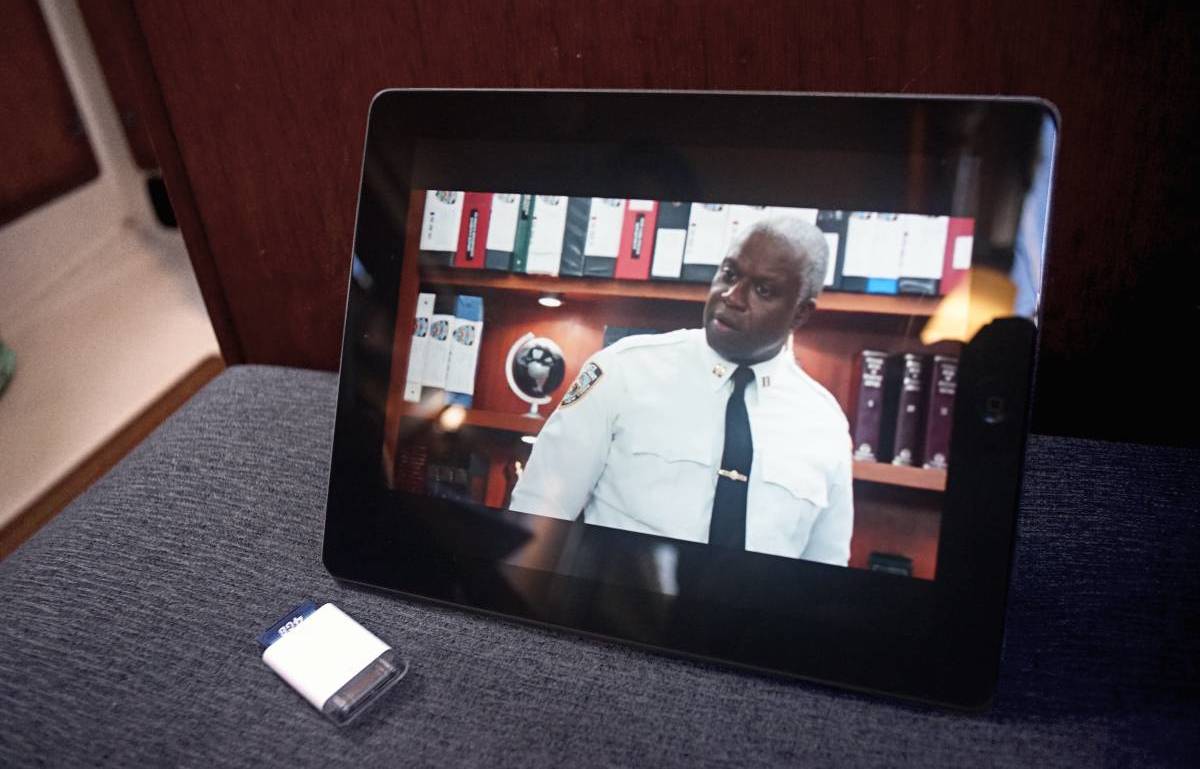
Then we realized we already had the perfect screen on hand: an Ipad2(purchased in 2012)
We used it to draw, play games, but it is now no longer possible to update it past iOS 9.3.5 — for an Apple device, that is a death sentence. We've kept it around this whole time, but weren't using it.
An Ipad really is an ideal screen...
- 24.6 cm(9.7 in), 1024-by-768-pixel resolution at 132 pixels per inch
- Works on a 12 V system
- Draws little little power(max 2 A)
- We already own it!
The only problem was that getting files onto an Ipad, without jailbreaking it, is difficult. Most file-managing apps(like the Files App), require a later iOS version. In all though, we prefer to not have to install apps.
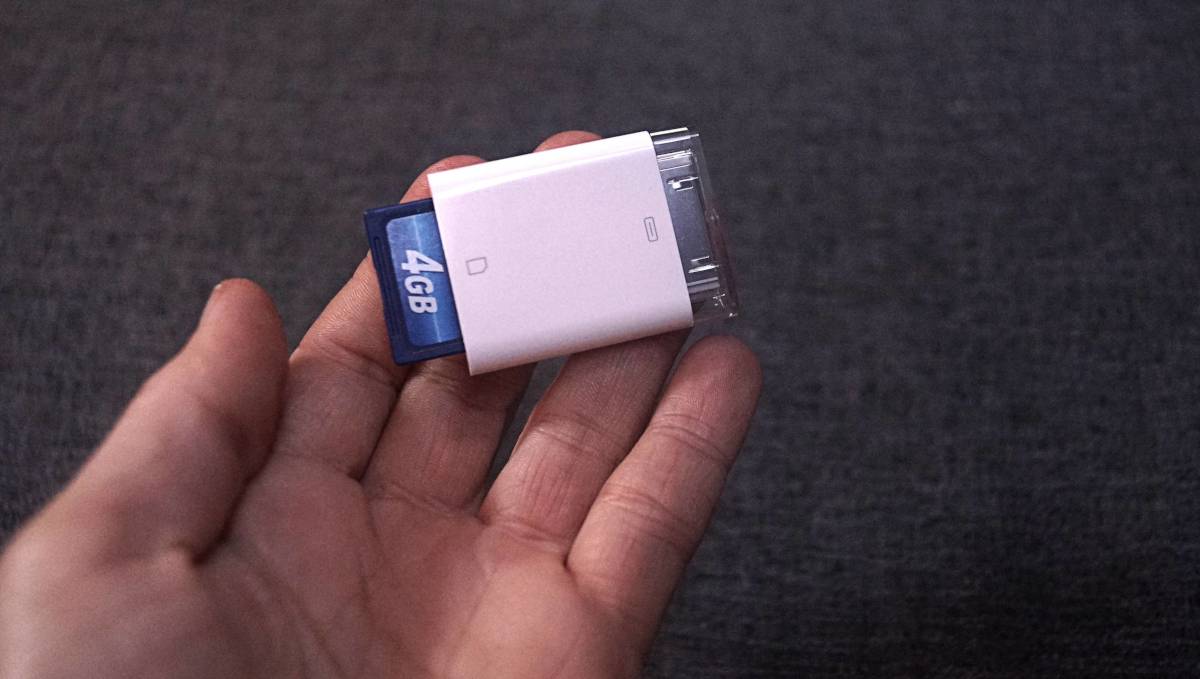
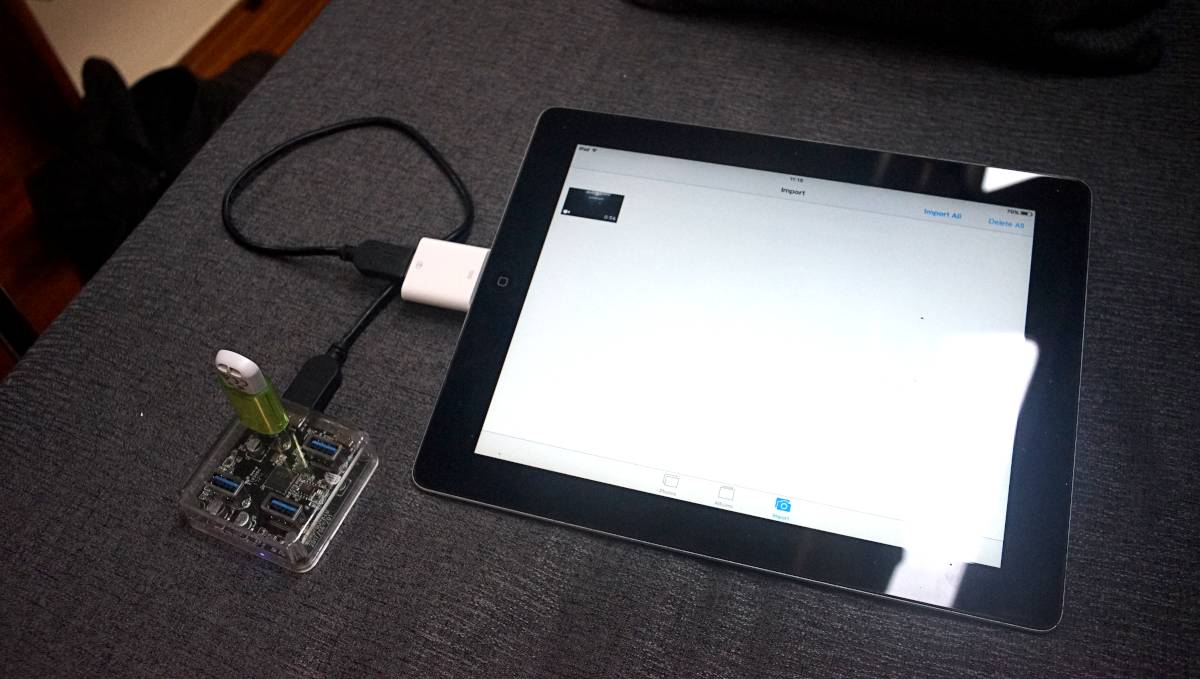
We found a camera connection kit on Ebay (30-pin male to SD card and a 30-pin male to USB) that we can use to transfer videos onto the Ipad.
It is important to note that the Ipad2's 30-pin dock connector can only handle 20ma of current.
Back in 2011, with the release of iOS 4.2, Apple crippled the Camera Connection Kit by implementing a software limitation that dropped the power output of the CCK to 20mA from 100mA.
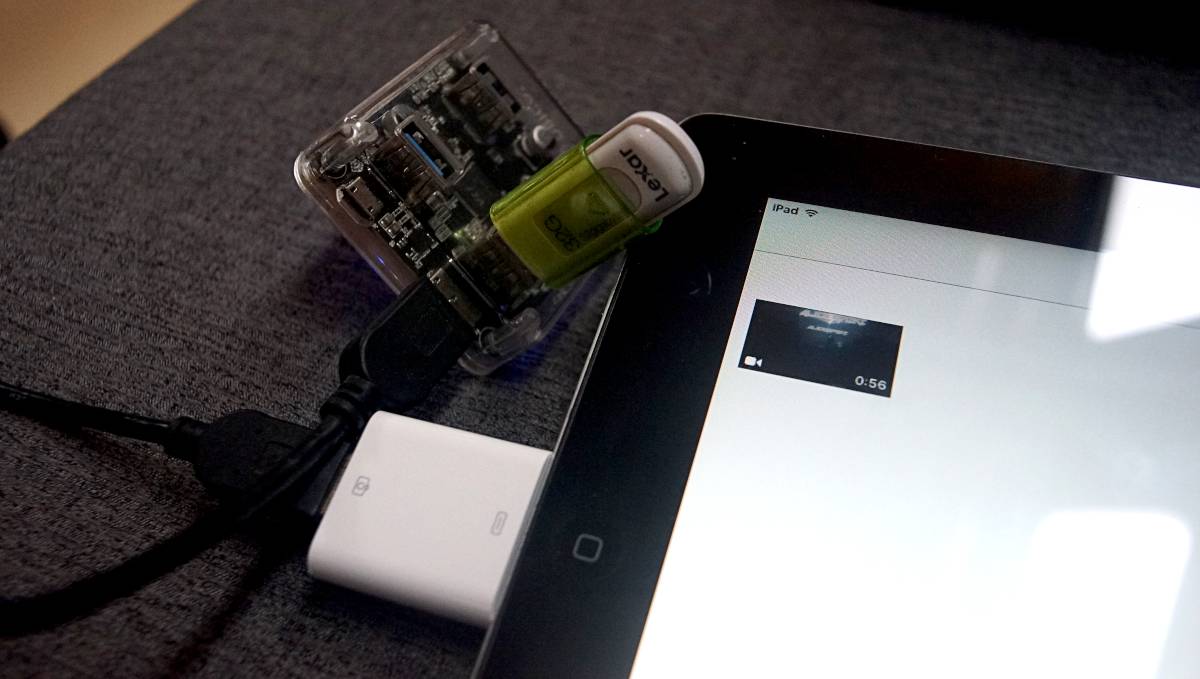
Plugging a 32GB flash drive results in the Ipad complaining that the accessory is "using too much power".
Using a flash drive is possible, but make sure it doesn't require more than 20ma to power, or connect an unpowered USB hub inline(I've tested it with a 32GB flash drive, it works). The USB hub likely dampens the flash drive's initial start-up spike in current, keeping it under the threshold, which doesn't triggers the "too much power" warning.
How To Format a Video to Play on an Ipad2
For a video to work on an Ipad, it must be encoded in a supported codec and video format.
- Supported Video Compression Codecs: H.264, H265, and MPEG-4.
- Supported Video Container Formats: .mov, .mp4, and .m4v.
- Supported Resolution and Bitrate: Videos with resolutions up to 1080p, 30 FPS, are compatible, but if the resolution or bitrate is too high, the Ipad will have difficulty playing it(or won't at all).
All of our video files were scaled down, compressed and converted into .mp4s using ffmpeg with the following command:
ffmpeg -i input.mp4 -vcodec libx264 -profile:v main -level 3.1 -preset medium -crf 23 -x264-params ref=4 -acodec copy -vf "scale=-2:540:flags=lanczos" -movflags +faststart output.mp4
To batch render all of the videos files in a directory named "converted":
for f in *.mkv;
do ffmpeg -i "$f" -vcodec libx264 -profile:v main -level 3.1 -preset medium -crf 23 -x264-params ref=4 -acodec copy -vf "scale=-2:540:flags=lanczos" -movflags +faststart "converted/${f%.*}.mp4";
done
You can also use VLC to make conversions. It's possible to auto-select profiles, or to enter your own.
Audio
To find the format(aac, dts, or other) for the audio stream that we want to extract:
ffprobe video.mkv
To select a specific audio track when converting a video, include:
-map 0:v:0
0:v:0 would select the first listed audio stream, 0:v:1 would select the second, etc.
If you want to extract the audio from the file:
ffmpeg -i input-video.avi -vn -acodec copy output-audio.aac
Sometimes, it is easier to remove the audio and to combine it again later using VLC:
ffmpeg -i input_file.mkv -c copy -an output_file.mkv
Subtitles
You won't be able to choose a subtitle track from the Ipad, so we chose to hardcode them.
For files that have a separate .srt file:
ffmpeg -i input.mp4 -vcodec libx264 -profile:v main -level 3.1 -preset medium -crf 23 -x264-params ref=4 -acodec copy -vf "scale=-2:540:flags=lanczos, subtitles=file.srt" -movflags +faststart output.mp4
For movie files that don't have a separate .srt file, you can first extract it using ffmpeg:
ffmpeg -i input.mkv -map 0:s:0 input.srt
- -i: Enter the file path
- -map: Choose one or more input streams as a source for the output file
- s:0: Select the subtitle stream
0:s:0 will use the first subtitle track listed, 0:s:1 will use the second, 0:s:2 will use the third, etc, etc.
If the subtitles are .ass format:
ffmpeg -i input.mkv -c:s copy subtitles.ass
Re-combine them using:
ffmpeg -i input.mp4 -vcodec libx264 -profile:v main -level 3.1 -preset medium -crf 23 -x264-params ref=4 -acodec copy -vf "scale=-2:540:flags=lanczos, ass=subtitles.ass" -movflags +faststart output.mp4
If you want to remove subtitles entirely, process the video as you normally would but include the following command:
-sn
Filenames
The Ipad won't read files on an SD card, or on a USB flash drive, that doesn't follow the folder structure that is created when the card is used in a camera. We used a card that already had that folder structure, and deleted all existing photo media.
The folder structure on our card looks like like this(Yours may well be different):
DCIM > DSC03012
The media file itself also needs a name that is 8-digits long, with sequential numbers and/or letters for the Ipad to see it:
DCM10596.mp4
The video then appears in Photos, and is watchable from there.
It's kinda weird and hacky, but it works, and we get to give an older device a purpose. Compressing videos en-masse also helped us save space on our external harddrives.
Note that converting videos takes a lot of time, a film that is 90 minutes long may take 45 minutes to complete. I started this process in late March on a computer dedicated to this purpose(while we're connected to shore power).