Introduction
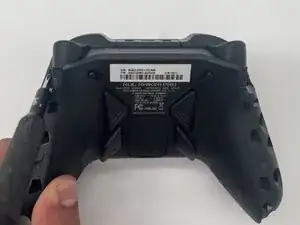
This guide shows how to replace the battery in a ASUS ROG Raikiri Pro controller. If your controller wont turn on, or the battery is draining too quickly, follow this guide for replacement.
A working battery should provide power to the controller. Sadly batteries don't last forever and might need to be replaced. If your battery seems to not hold a charge, or just won't charge at all, replacing the battery might be your best option.
If you realize you have a swollen battery, please handle it accordingly before moving forward.
-
-
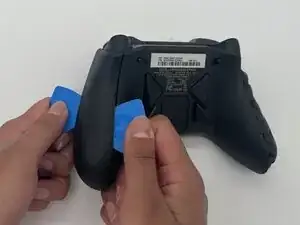
Insert the tip of an opening pick into the seam of the top left handle cover.
-
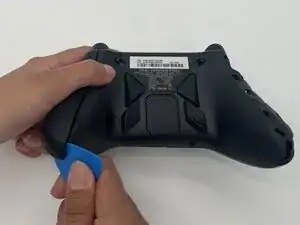
Slide it down to release the clips connecting the handle cover to the controller.
-
Remove the left handle-cover.
-
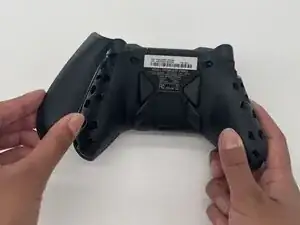
Repeat the steps to remove the right handle cover.
-
-
-
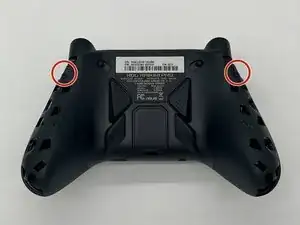
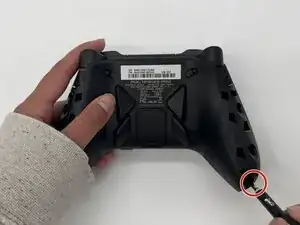
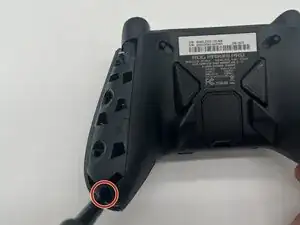
Use a Phillips #1 screwdriver to remove an 11 mm screw from the bottom corner of each handle.
-
-
-
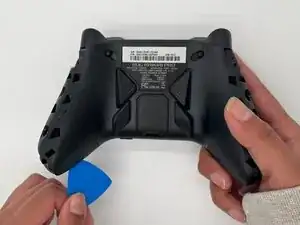
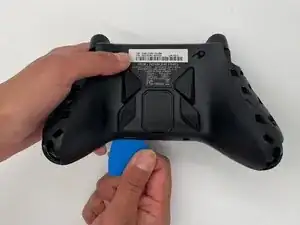
Place the tip of an opening pick or spudger in the seam of the back center panel.
-
Gently slide the pick from left to right along the seam to release the clips connecting the top and bottom of the controller.
-
Separate the top and bottom of the device.
-
-
-
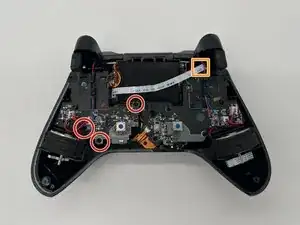
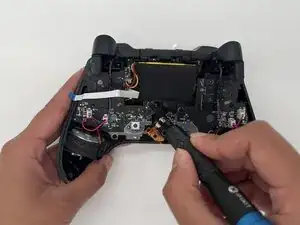
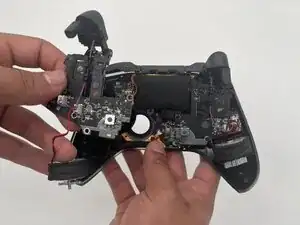
Use a Phillips #1 screwdriver to remove the three 8 mm screws securing the left board.
-
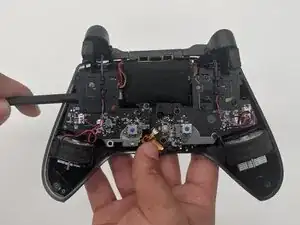
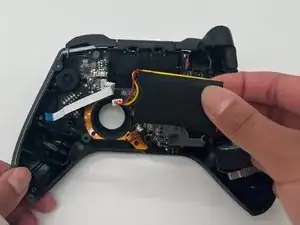
Disconnect the ribbon cable that crosses over the battery.
-


To reassemble your device, follow these instructions in reverse order. Take your e-waste to an R2 or e-Stewards certified recycler.