Introduction

This guide will provide detailed step-by-step instructions on replacing bumpers for the GameSir K1 Kaleid wired controller. After extended use, it is expected for the bumpers to wear out by becoming unresponsive, or having an extensive amount of visible damage. The bumper will not register input and become difficult to press.

  1. UeiJqBUkoFuB4UWt
    • Remove seven 1 mm screws from the backside of the controller using a TR6 Torx screwdriver.

    • There may be a screw covered under the manufacturer's sticker.

  2. RHhE4Mg6cBkrGyEI
    RHhE4Mg6cBkrGyEI
    VaXV4ErHEadwOsVE
    OGOYLuVcHyt6ZO5r
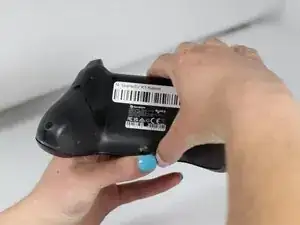
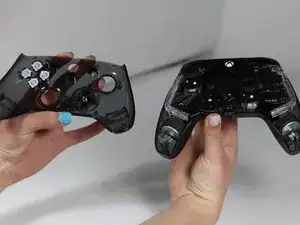
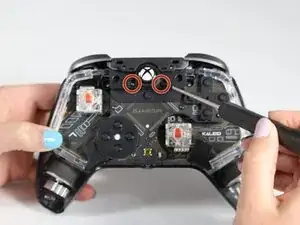
    • Hold the controller between your hands, with the front panel facing down.

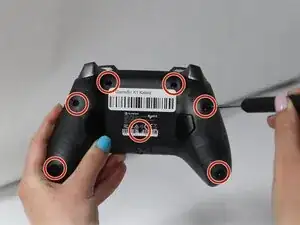
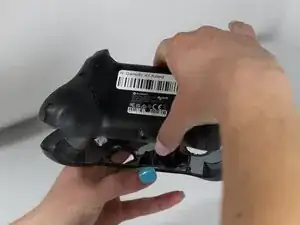
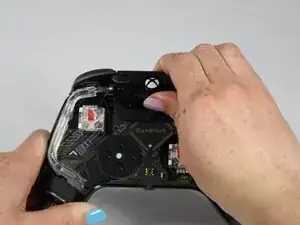
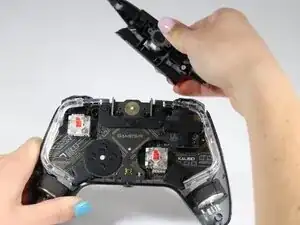
    • Lift the back panel.

    • It should come up easily. If met with resistance, check for a missed screw on the back panel.

  3. r4Es3l4IFhKFHvvP
    r4Es3l4IFhKFHvvP
    CLxPKPJbesHFWgdY
    hgMGPET3j4qyGeJV
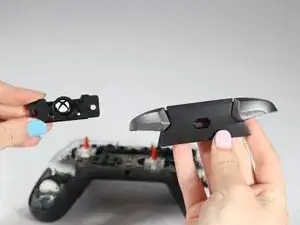
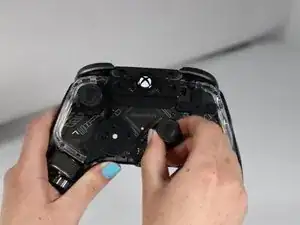
    • Hold the controller, grasp the rubber joystick cover, and pull upwards.

    • There will be resistance; pull firmly.

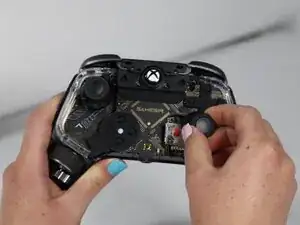
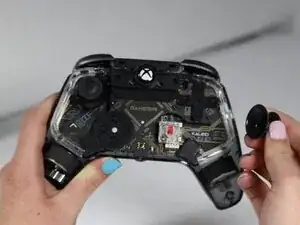
    • Repeat for the second joystick cover.

  4. XTqiLCrNyWh64QQl
    • Remove two 1 mm screws on either side of the power button using a TR6 Torx screwdriver.

  5. ihOipXQYV3qZdGnM
    ihOipXQYV3qZdGnM
    aN4jfRsDiq5qMxvb
    NMeBWDNCsfLcNXb5
    • Remove the power button and bumpers.

Conclusion

To reassemble your device, follow these instructions in reverse order.

Triniti Gutierrez

Member since: 24/01/25

878 Reputation

0 comments