
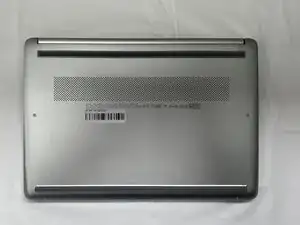
Introduction
If your HP 14-dq5009nr has trouble turning on, won't charge properly, or the bottom is swelling, you will likely need to change the battery. Use this guide to safely remove and replace the battery.
This guide will help you replace the battery for your device. A functional battery provides power to your laptop. Eventually, laptop batteries will rapidly drain after going through a repeated amount of charge cycles. If you notice that your charged battery is draining more quickly than usual, consider calibrating your battery to determine an accurate charging capacity. If you continue to notice significant drops in battery percentage, you should replace your battery.
Warning: If your laptop battery is swollen, be very careful when replacing it, or take it to a repair shop. For helpful tips on dealing with a swollen battery, check out the What to do with a swollen battery guide.
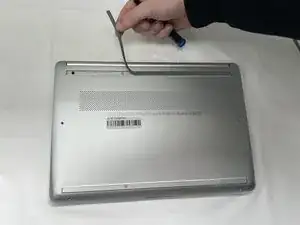
Before you begin this repair, power off your laptop and disconnect from the charging adaptor and other peripherals.
-
-
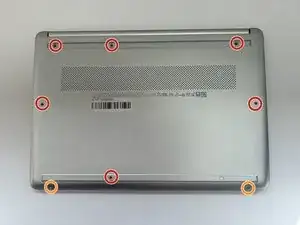
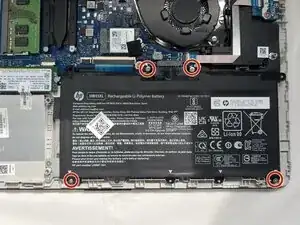
Use a Philips #0 screwdriver to remove the eight screws from the back case.
-
Six 7 mm-long screws.
-
Two 4.8 mm-long screws
-
-
-
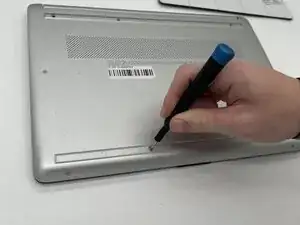
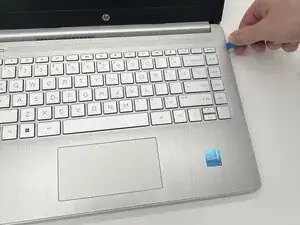
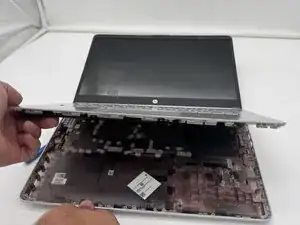
Use a plastic opening tool to separate the back case from the palmrest keyboard assembly. Gently pry the back cover from the device.
-
-
-
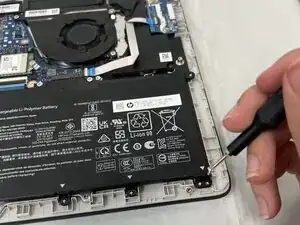
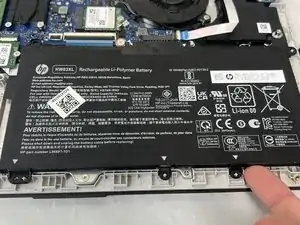
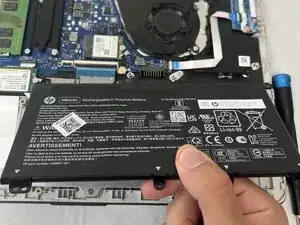
Use a Phillips #0 screwdriver to remove the four 3 mm screws that secure the battery to the chassis.
-


To reassemble your device, follow these instructions in reverse order. Take your e-waste to an R2 or e-Stewards certified recycler.
For optimal performance, calibrate your newly installed battery after completing this guide.
