Introduction
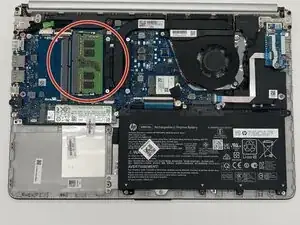
RAM, or Random Access Memory, is a crucial component in any computing device. It is a type of volatile memory, meaning it temporarily stores data that the computer is actively using or processing. When a computer is powered on, the operating system, software applications, and active data are loaded into RAM from the storage drive (like an SSD or HDD) for quick access by the processor. RAM allows for fast read and write access, which significantly speeds up computing tasks compared to accessing data directly from storage drives.
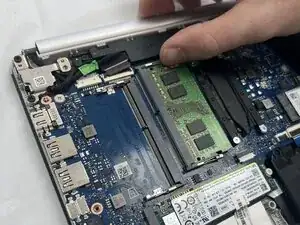
The more RAM a system has, the more applications it can handle at once without slowing down. However, since RAM is temporary, all data stored in it is lost when the computer is turned off.
If you are experiencing sudden shutdowns or error messages, or you just need to upgrade the RAM if your HP 14-dq5009nr, follow this guide.
Before you begin this repair, power down and unplug your laptop.
-
-
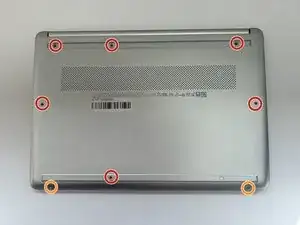
Use a Philips #0 screwdriver to remove the eight screws from the back case.
-
Six 7 mm-long screws.
-
Two 4.8 mm-long screws
-
-
-
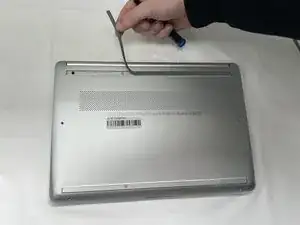
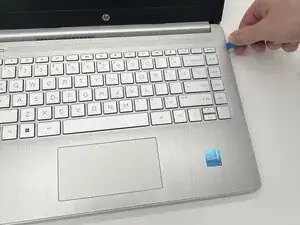
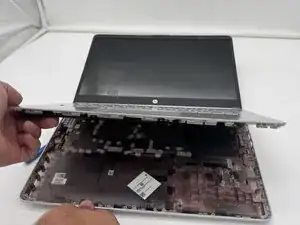
Use a plastic opening tool to separate the back case from the palmrest keyboard assembly. Gently pry the back cover from the device.
-
-
-
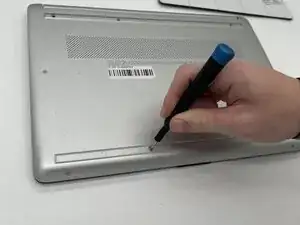
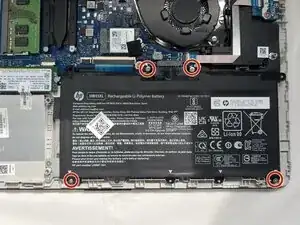
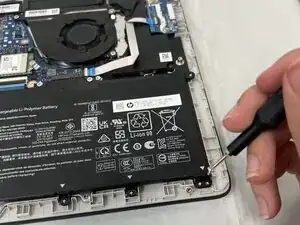
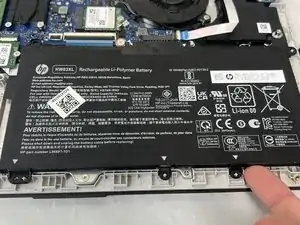
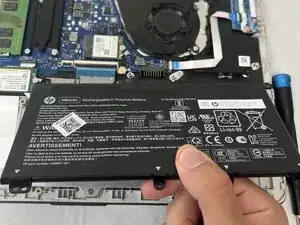
Use a Phillips #0 screwdriver to remove the four 3 mm screws that secure the battery to the chassis.
-


To reassemble your device, follow these instructions in reverse order. Take your e-waste to an R2 or e-Stewards certified recycler.