Introduction
Does your HP 14-dq5043cl struggle to power on, hold a charge for long periods of time, or die randomly? If that's the case, you may have a faulty battery that is in need of a replacement.
A laptop battery is one of the primary components responsible for providing power to the device. If compromised your device will not be operable. Our goal is to provide a comfortable and simple experience to replace this essential part.
Before you begin make sure your device is powered off and not plugged in.
Tools
Parts
-
-
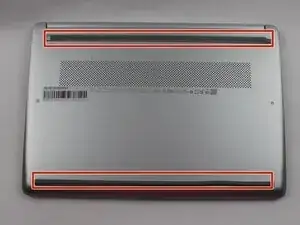
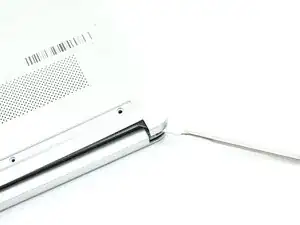
Insert a nylon spudger into the seam between the lower case and chassis.
-
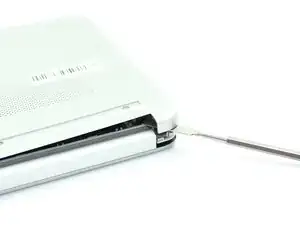
Pry around the entire perimeter until the lower case fully releases.
-
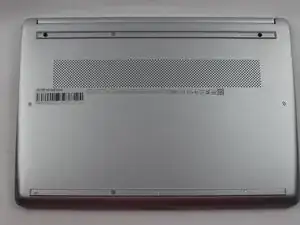
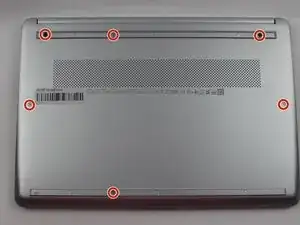
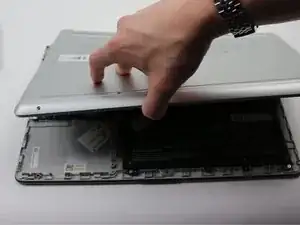
Remove the lower case.
-
-
-
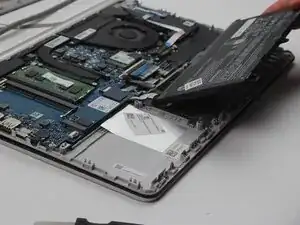
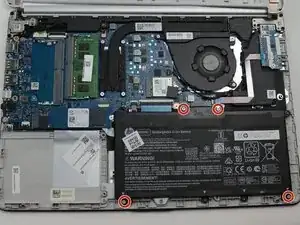
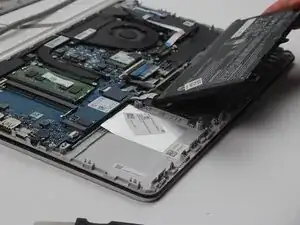
Grip the lower edge of the battery and pull it toward you to disconnect the blade-style battery connector.
-
Remove the battery.
-
To reassemble your device, follow the above steps in reverse order.
For optimal performance, after completing this guide, calibrate your newly installed battery.
Take your e-waste to an R2 or e-Stewards certified recycler.
Repair didn’t go as planned? Try some basic troubleshooting or ask our Answers community for help.
