Introduction
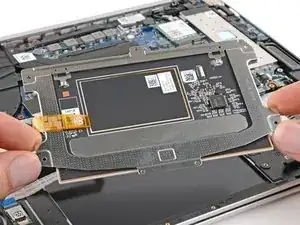
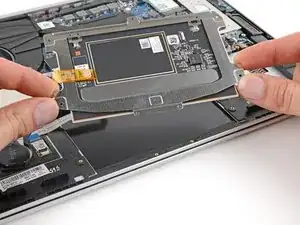
Use this guide to replace a broken or non‑responsive touchpad (aka trackpad) on your HP EliteBook 845 G9 laptop.
You may need to replace the touchpad if it's behaving erratically, unresponsive to touch inputs, or inconsistent in cursor movement.
When handling batteries, don’t use sharp or metal tools, and don’t bend them or use excessive force. If your battery is swollen, take appropriate precautions.
Still under warranty? Contact HP to learn your warranty status, receive a repair under warranty if eligible, or for further warranty information.
Tools
-
-
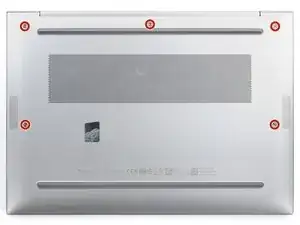
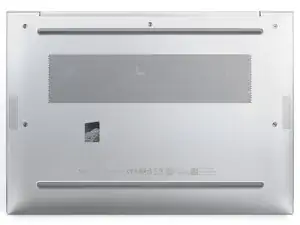
Use a Phillips screwdriver to fully loosen (not remove) the five captive screws securing the bottom cover.
-
-
-
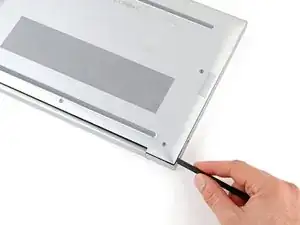
Position your laptop so the rear edge (with the screen hinge) is closest to you.
-
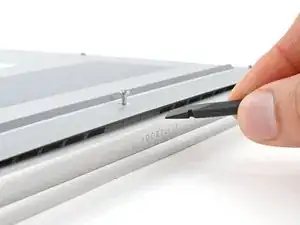
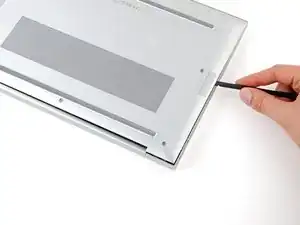
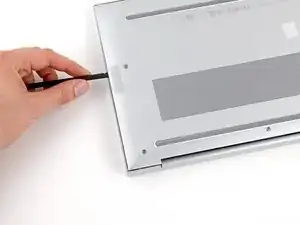
Insert the flat end of a spudger between the rear edge of the bottom cover and the frame, near the middle screw and ELITEBOOK text.
-
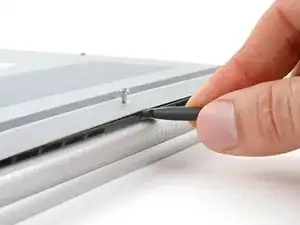
Use your spudger to pry up the cover to release the clip securing it.
-
Leave the spudger inserted under the bottom cover for the next step.
-
-
-
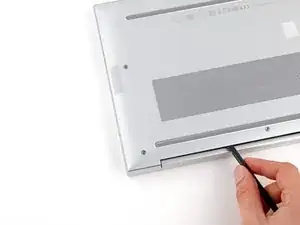
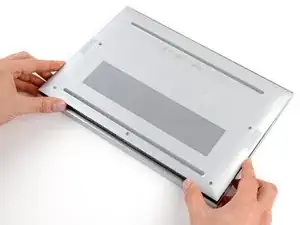
Slide your spudger along the rear edge toward one of the corners to release the rear edge clips.
-
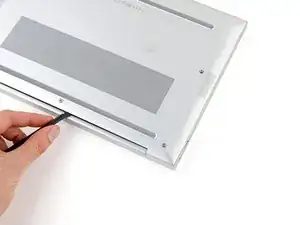
Rotate your spudger around the corner and up the edge to release the clips securing the short edge of the cover.
-
-
-
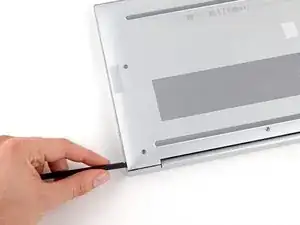
Reinsert the flat end of a spudger near the ELITEBOOK text.
-
Repeat the previous step for the other side of the cover to release the remaining clips.
-
-
-
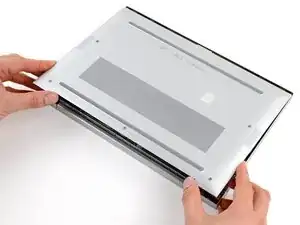
Slide the cover towards the screen hinge to disengage the clips on the opposite edge.
-
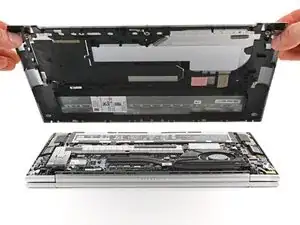
Lift and remove the cover.
-
-
-
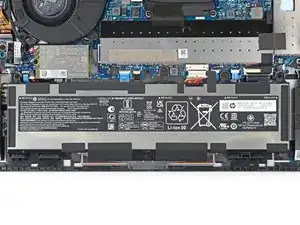
Position your laptop so the front edge (opposite the screen hinges) is closest to you.
-
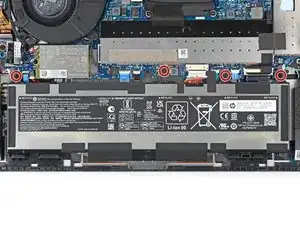
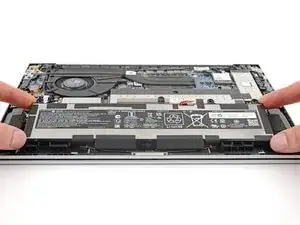
Use the point of a spudger to push on alternating sides of the battery's sliding connector to walk it completely out of its socket.
-
-
-
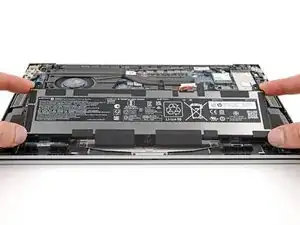
Lift the top edge of that battery and slide the tabs on the bottom edge out of their slots.
-
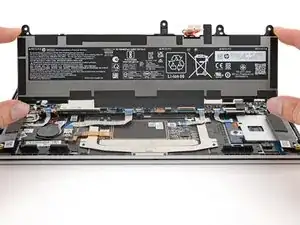
Remove the battery.
-
-
-
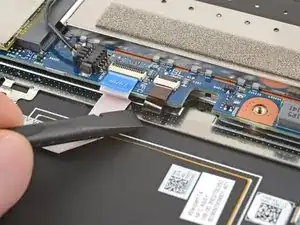
Gently slide the flat end of a spudger under the ribbon cable near the top right corner of the touchpad to separate the adhesive.
-
-
-
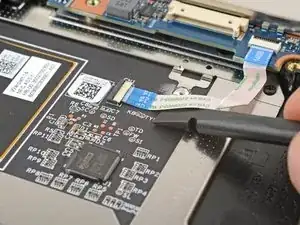
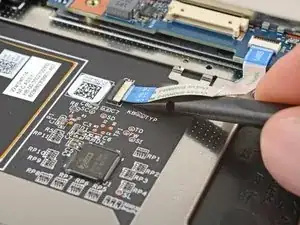
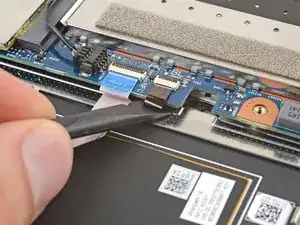
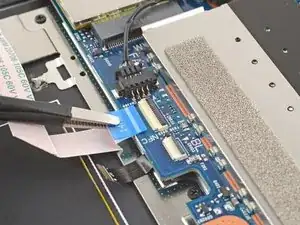
Use a spudger to lift the hinged locking flap on the ZIF connector near the top right corner of the touchpad.
-
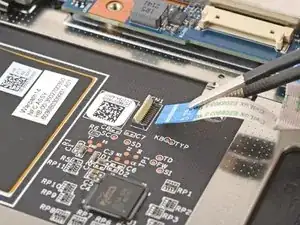
Use tweezers to gently pull the cable straight out of its socket.
-
-
-
Gently slide the flat end of a spudger under the small, brown ribbon cable near the center of the touchpad's top edge to separate the adhesive.
-
-
-
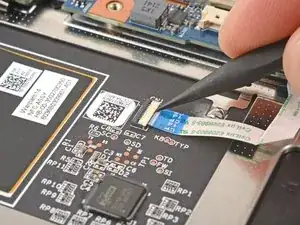
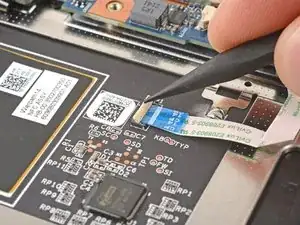
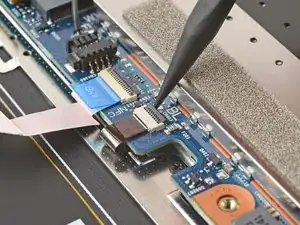
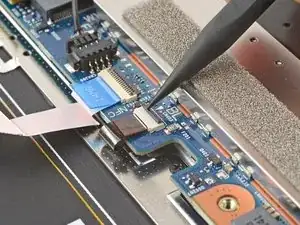
Use a spudger to lift the hinged locking flap on the smaller ZIF connector on the center of the motherboard's bottom edge.
-
Use tweezers to gently pull the cable straight out of its socket.
-
-
-
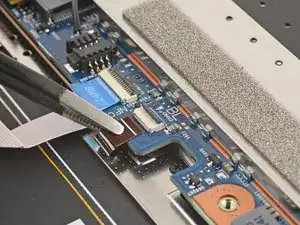
Repeat the previous step to disconnect the ZIF connector just to the left of the previous one.
-
-
-
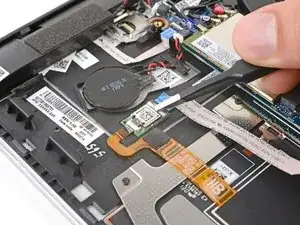
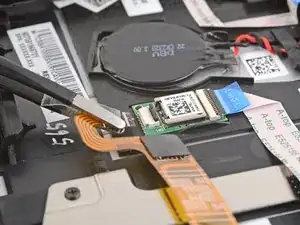
Use tweezers to lift the thin, clear piece of tape from the small board just to the left of the touchpad.
-
-
-
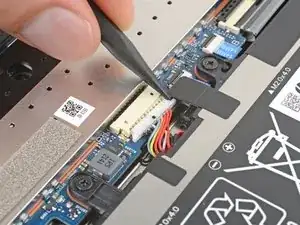
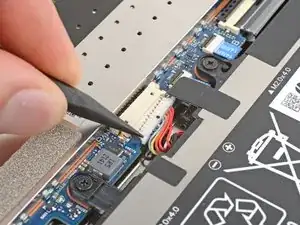
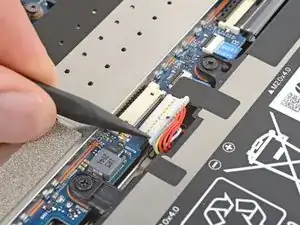
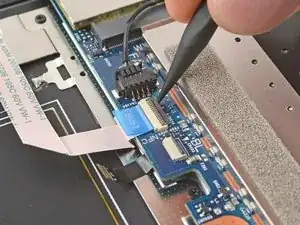
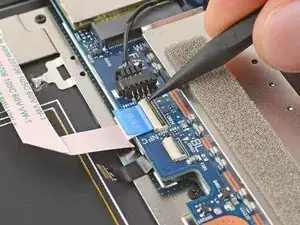
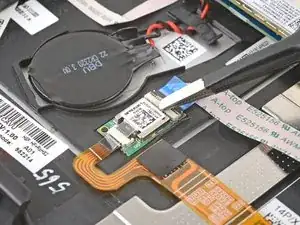
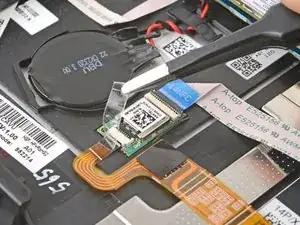
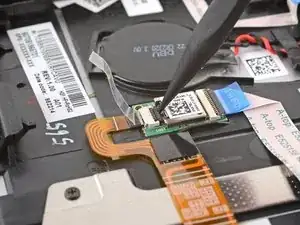
Use the point of a spudger to lift the hinged locking flap on the smaller ZIF connector on the board (with an orange cable).
-
Use tweezers to gently pull the cable straight out of its socket.
-
-
-
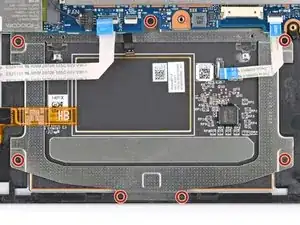
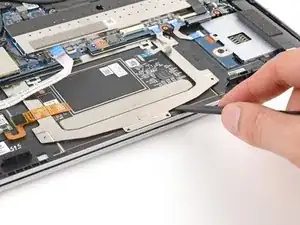
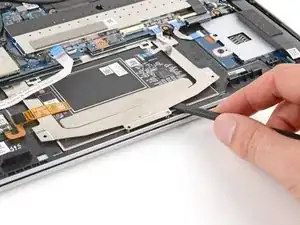
Use a spudger to lift the bottom edge of the touchpad until you can grip it with your fingers.
-
-
-
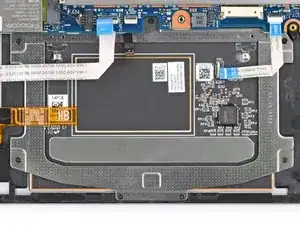
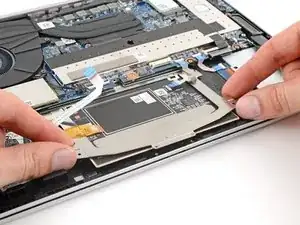
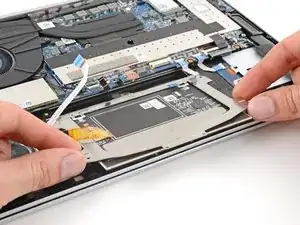
Grab the touchpad's bottom edge and pull to slide its top edge out from under the motherboard.
-
Remove the touchpad.
-
Compare your new replacement part to the original part—you may need to transfer remaining components or remove adhesive backings from the new part before you install it.
To reassemble your device, follow these instructions in reverse order.
Take your e-waste to an R2 or e-Stewards certified recycler. Depending on your region, used HP devices and parts can be returned for reuse or recycling through the HP Planet Partners program.
Repair didn’t go as planned? Try some basic troubleshooting, or ask our Answers community for help.
