Introduction

Sometimes, gaming controller buttons malfunction, and fail to read or send inputs to the game. After many hours of use, the Haute42 arcade-style controller may lose functionality.

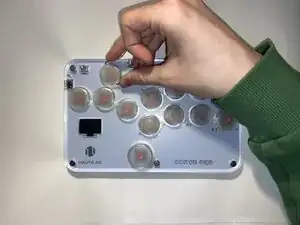
Before going through with this repair, check the button for any debris under the keycap, as that could be contributing to the issue. You can carefully clean any dust or grime with compressed air, contact cleaner, and/or isopropyl alcohol but it's not a guaranteed fix.

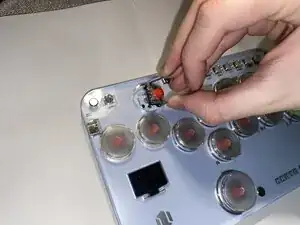
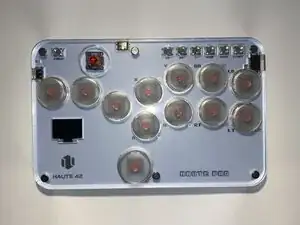
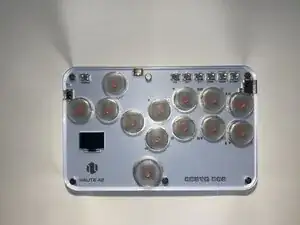
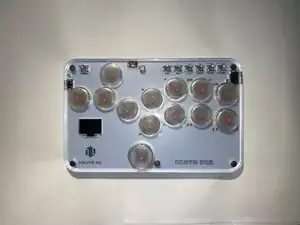
This guide covers the replacement of a keycap and button switch on a Haute42 S13 controller. It is important to note that this guide can also apply to any Haute42 controller, but instructions specific to this model will be detailed.

This guide can also be used if you just want to change the keycap buttons to a different color and customize the look of your controller by following the first couple of steps.

Before you begin, make sure the controller is turned off and disconnected from the USB cord.

  1. LVfA2v5a2raVVmWC
    • Unplug the controller from any device it is connected to and make sure it is powered off.

  2. yyXUXBdLvNSknfuS
    yyXUXBdLvNSknfuS
    vFhnnAaNtdFLMFJu
    pGdYG44wRl5dcy1d
    • Use a keycap puller to remove the keycap from its socket.

    • Avoid using excessive force to prevent damaging the device.

  3. 5WPHLg5iNsZy3ira
    5WPHLg5iNsZy3ira
    3k6UncU2fcqjIJwT
    FwND35KsWLGNsXPq
    • Use the keycap/switch puller to remove the switch from its socket.

    • Be careful not to damage the controller while removing the switch.

  4. fE2JCwBCGa4LxU6v
    fE2JCwBCGa4LxU6v
    NLeYrH6DvWy61rdV
    • Align the pins of the new switch with the holes in the socket and replace the switch.

    • You will feel the pins slide into place.

    • Do not press the switch in until you know you have aligned it correctly, doing so may damage the pins on the switch.

  5. mrHyUUtBk6HjFhIO
    • Use your finger to push the switch into place.

    • You should hear a click when it connects.

    • Try moving it to make sure it is firmly in place. It should not move at all when attached to the controller.

  6. UYUKuXqAqFT6fmii
    UYUKuXqAqFT6fmii
    I5xWHlxMxwBCQxFs
    TSQGDFVOcLNpWfNW
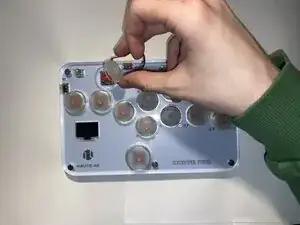
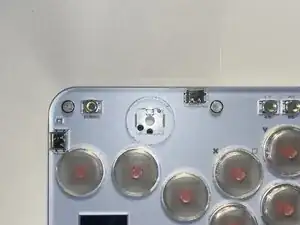
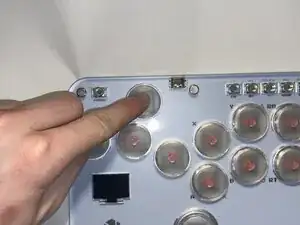
    • Align the cross on the keycap and the cross on the switch and gently press the keycap onto the switch.

    • Avoid applying excessive pressure to prevent damaging the new switch.

  7. VVdSMhhFRSLT1jlu
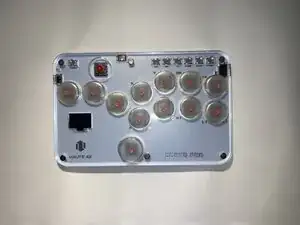
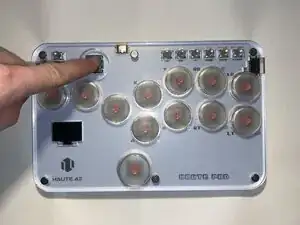
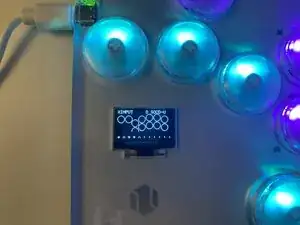
    • Take a look at the OLED input display on the controller while pressing it to check if the button is fully functional.

    • On the screen, the button should highlight itself and the input history should be displayed at the bottom. If it all works, congratulations! You have successfully replaced this button.

Owen Santin

Member since: 01/02/25

175 Reputation

0 comments