Introduction
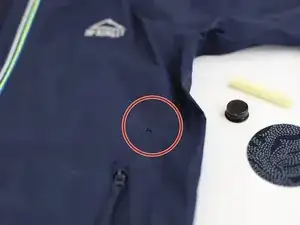
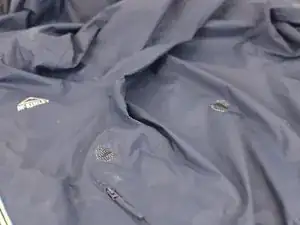
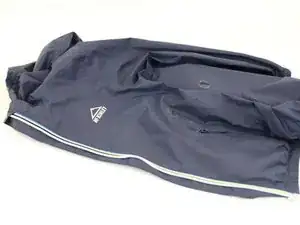
We all know accidents happen, and a burn hole in your favourite fabric can be frustrating. But don't worry! We're here to show you how to effectively patch it, not only extending the life of your favourite garment but also adding a unique touch!
➡️Before you get started, please check the safety disclaimer at the bottom of the page.
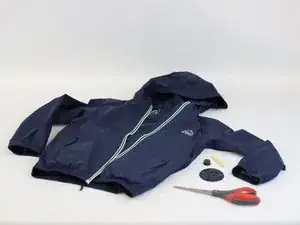
Tools
-
-
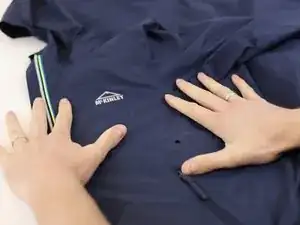
Lay your garment on a flat surface.
-
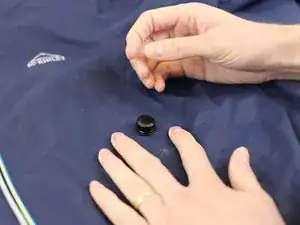
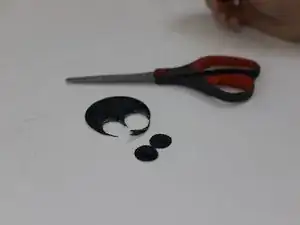
Draw a line around the bottle lid to use it as a guide.
-
Note: In this example, we chose the lid because it was at least 1cm larger than the hole on each side. For future patching, please keep this margin in mind.
-
-
-
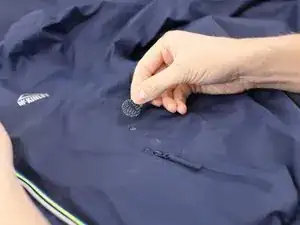
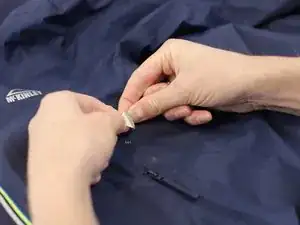
Place the top edge of the patch carefully onto the item, and apply gentle pressure.
-
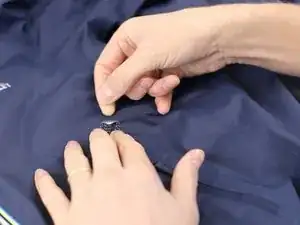
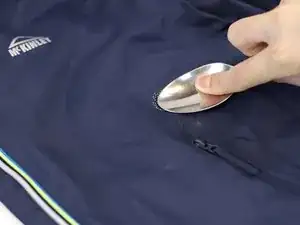
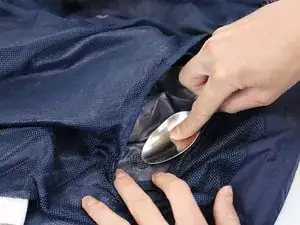
Use the backside of a spoon to apply harder pressure, and use a circular motion to press down around the patch for 1-2 minutes.
-
-
-
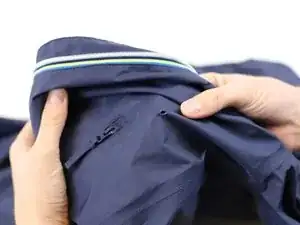
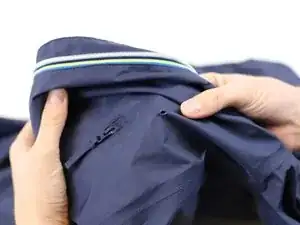
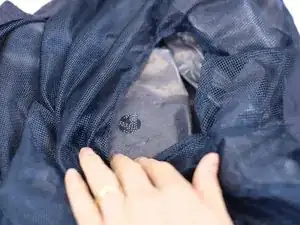
Look for additional burn holes and repeat the same steps shown before to patch them.
-
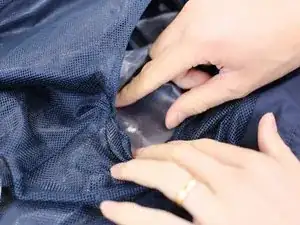
Note: Sometimes you will need to patch both the outside and inside part of a garment.
-
In need of another repair? Don't worry! Check out our other guides to find quick solutions for your favourite clothing, footwear and equipment!
----------------------------------------
🚨🛠️🩹 IMPORTANT SAFETY NOTICE:
The repair guides provided on this site are intended to help you repair products on your own. While we have put a lot of care into them, all repair work carries some risk:
- Safety Precautions: When repairing your product, take all necessary precautions to ensure your safety. Use appropriate tools and follow the instructions carefully.
- Product Condition: Once your product has been repaired, it may not meet original compliance guidelines anymore and could potentially have issues.
- Liability: We are not responsible for any damage or injury that may occur during the repair process or as a result of using a repaired product. You, as the repairer, assume all risks and responsibilities associated with the repair.
By using these repair guides, you fully acknowledge and accept the potential risks and responsibilities involved.
