Introduction
This guide walks you through steps to reattach a broken umbrella strap, which ultimately extends the life of your umbrella through repair and reduces waste.
For this guide, we’ll be detaching the broken umbrella strap with a seam ripper, then marking the original sewing lines with fabric chalk. We will then align and pin the umbrella fabric with sewing pins, sew along the marked lines, then tie off and trim any excess threads with scissors. This repair will also utilize a certain type of stitch, called a backstitch, which involves looping the thread back on itself to ensure strength and longevity. This stitch is also incredibly lucrative and can be used across many other types of sewing repairs.
With frequent rain, many individuals increase their usage of weather-protective gear like umbrellas. This increased usage can cause damage to the umbrella strap, preventing individuals from being able to neatly close the umbrella and ultimately, losing its full functionality.
Repairing this strap will help increase the lifespan of your umbrella, improving functionality and helping minimize potential waste. Production of umbrellas involves a mix of materials that take a long time to break down in landfills like synthetic fabrics, metal, and plastic. By choosing to repair your umbrella instead of throwing it out, you're preventing waste and mitigating overconsumption.
Tools
-
-
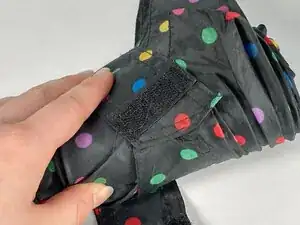
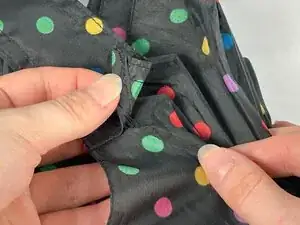
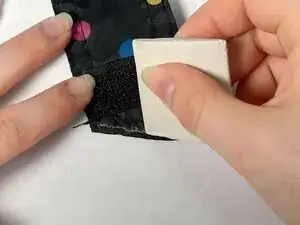
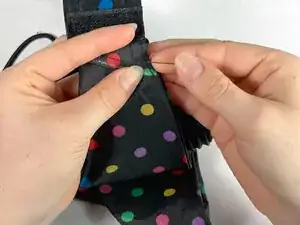
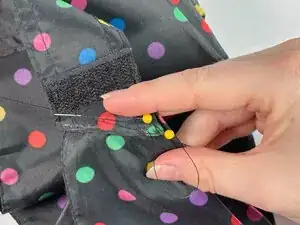
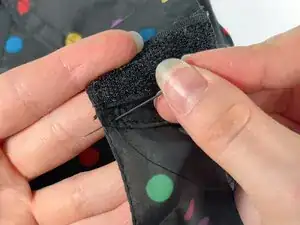
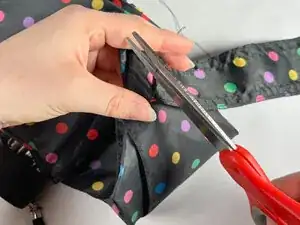
Expose the broken stitching holding the umbrella and strap together.
-
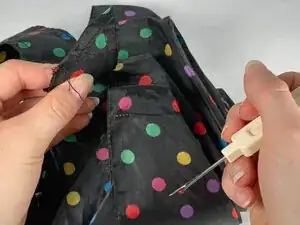
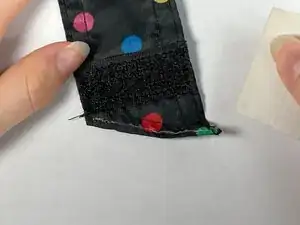
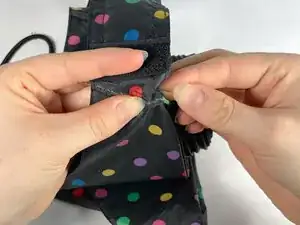
Detach the two pieces by using the seam ripper to pull out the threads and rip through them.
-
-
-
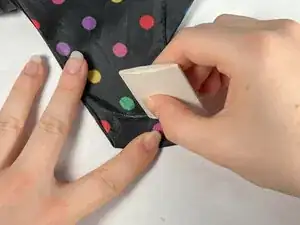
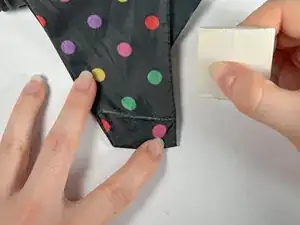
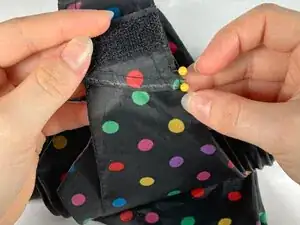
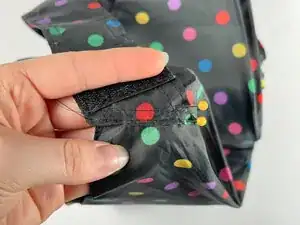
Lay the umbrella strap flat, then mark the original sewing line with a piece of fabric chalk.
-
-
-
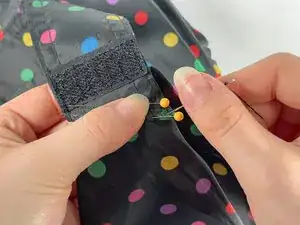
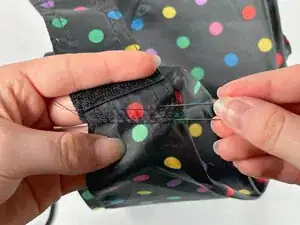
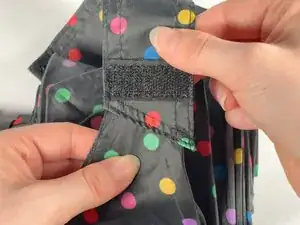
Align both pieces of the fabric together in the original orientation using the marked white lines as guidance.
-
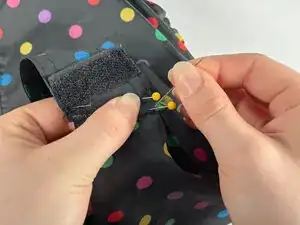
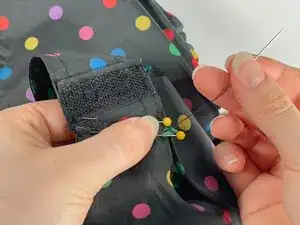
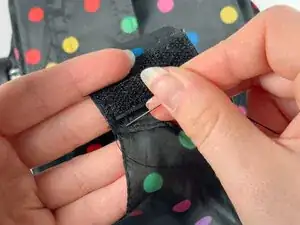
Take one pin and push it down through both layers of the fabric above the original stitching line.
-
When the pin is halfway through the fabric, push it back up through the two layers.
-
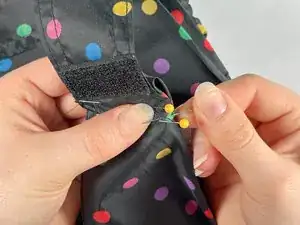
Repeat this process for the second pin below the original stitching line.
-
-
-
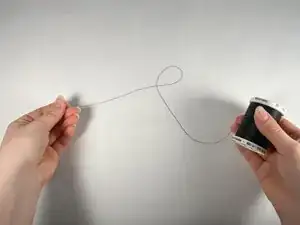
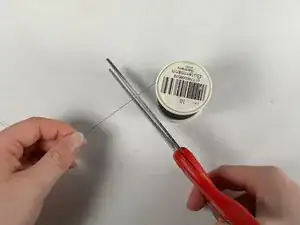
Hold the needle with the eye facing upwards, then carefully push the black thread into the needle's eye.
-
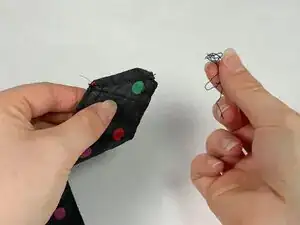
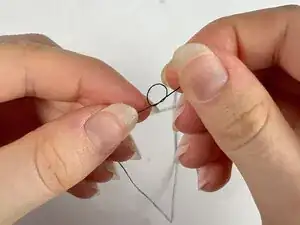
Taking the other end of the thread that did not go through the eye of the needle, make a small loop, and run that end of the thread through it.
-
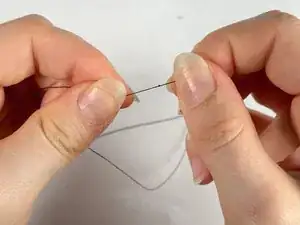
Pull the thread to tighten and secure the knot.
-
-
-
Begin the stitch at the second hole in from the right.
-
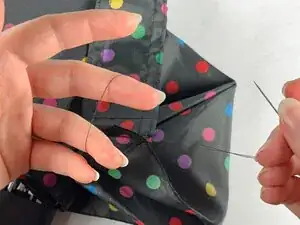
Poke the needle up through the fabric from the underside.
-
Pull the needle through until the knot hits the fabric; you will feel resistance.
-
-
-
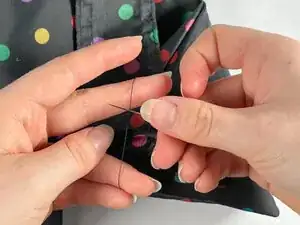
Poke the needle down through the first hole (which is to the right of the second hole).
-
While the needle is halfway through the first hole, angle it up, then poke it through the third hole.
-
Flip the fabric over to check that the needle is piercing the fabric, as shown in the third photo.
-
-
-
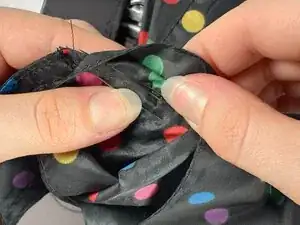
Pull the needle and thread through the fabric completely until the thread is tight against the fabric.
-
-
-
Repeat the same methods in Steps 9 and 10 until you have pulled the needle up through the last hole.
-
Remove the pins.
-
-
-
To complete the line of stitches, poke the needle through the hole to the right.
-
Pull the needle straight down instead of bringing it back up through the fabric.
-
Pull the thread until it is tight.
-
-
-
Flip the fabric over to see the underside.
-
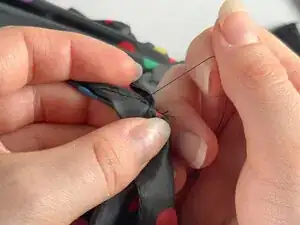
Create a loop with the thread.
-
Run the needle through the open loop.
-
Pull the thread tight to create a knot.
-
-
-
Pull both ends of the umbrella fabric to test the strength of stitching. The repair is now complete!
-


Now your umbrella is ready to be used!
