Introduction
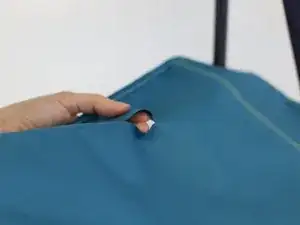
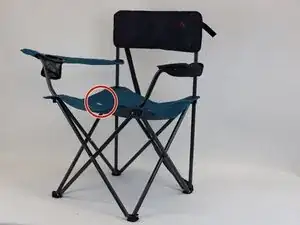
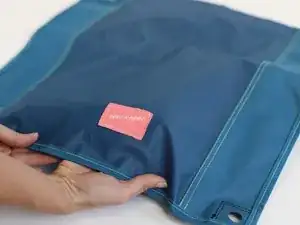
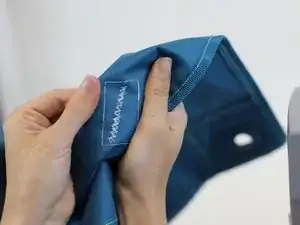
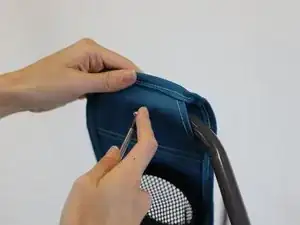
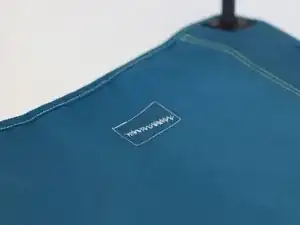
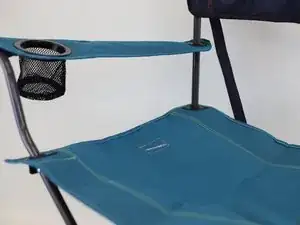
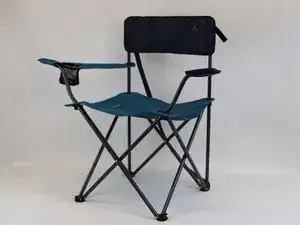
If you've noticed a tear in the fabric of your favourite camping chair , don't worry – repairing it is a simple process and doesn't require advanced sewing skills. We will walk you through the steps on how to fixit it!
➡️Before you get started, please check the safety disclaimer at the bottom of the page.
Tools
-
-
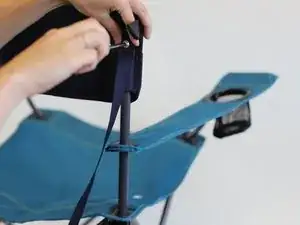
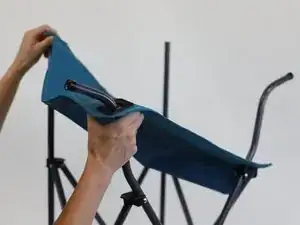
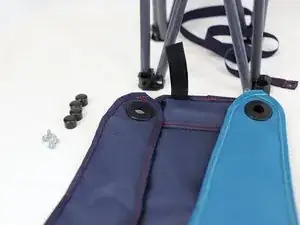
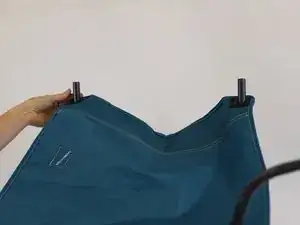
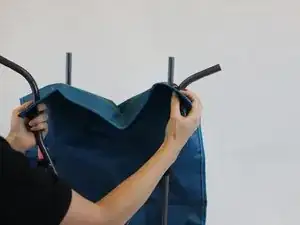
Continue to take the pieces and set them aside until you reach the fabric that needs to be stitched.
-
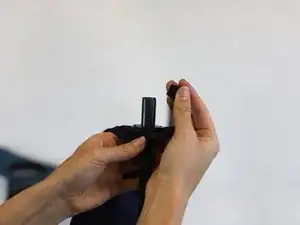
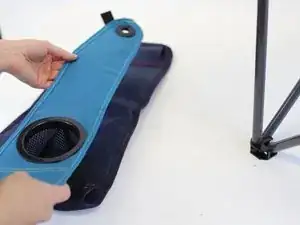
In this step, you simply need to use your hands to slide off and gently remove each part.
-
-
-
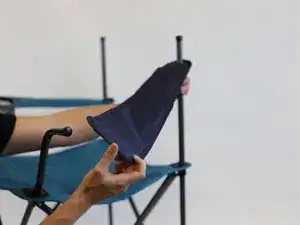
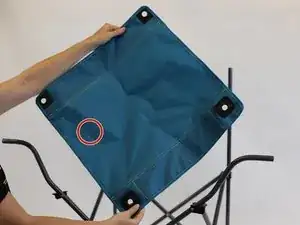
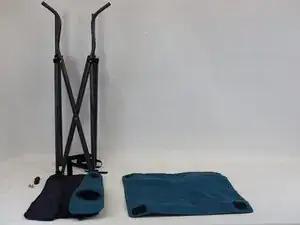
Set aside all the components of the chair, sort them out in small groups and prepare for stitching.
-
-
-
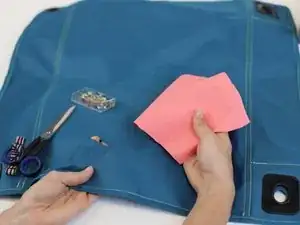
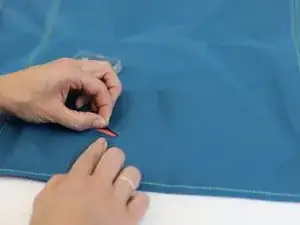
Use a pair of scissors to cut a piece of cloth.
-
Note: we recommend using a piece of cloth that matches the material of the torn fabric. In this example, we used a non-stretch fabric that had a similar texture and feel to the original.
-
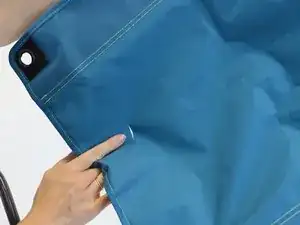
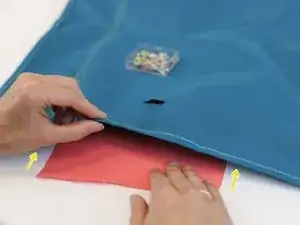
Place the cloth underneath the tear and get ready for the next step.
-
-
-
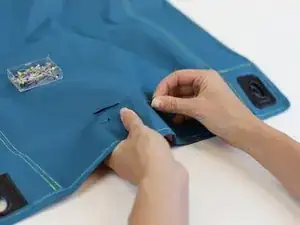
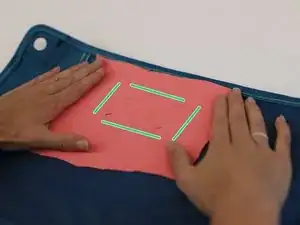
Use sewing pins to fix the piece of cloth in place. Put the pins around the tear, forming a "square" shape (green lines).
-
-
-
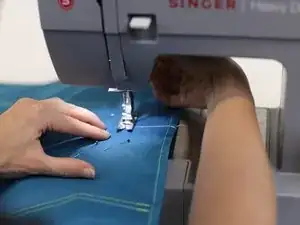
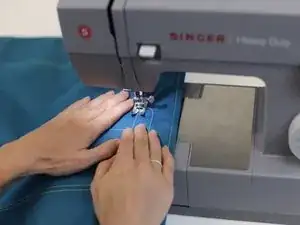
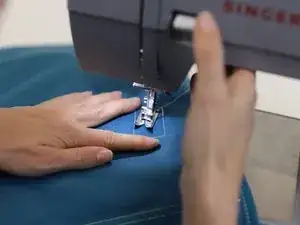
Use a straight stitch to sew a "square shape" around the tear.
-
Tip: For tips on setting up the machine take a look at this iFixit guide.
-
Rotate the piece as much as you need to find the position that makes the stitching more comfortable.
-
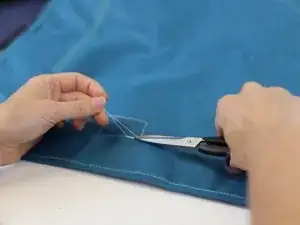
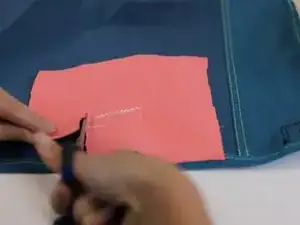
Once you have completed the stitch, use a pair of scissors to clean the loose threads.
-
-
-
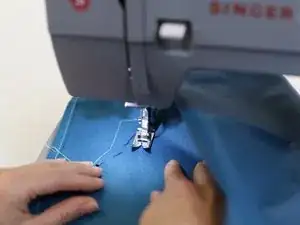
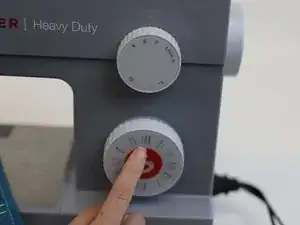
Adjust the sewing machine to the Zig-Zag stitch setting and the length to "3".
-
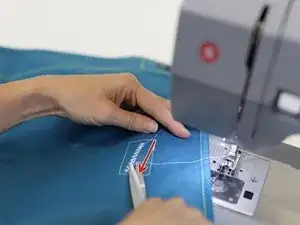
Stitch a diagonal line following the direction of the red arrow.
-
-
-
Start by putting the components back, first the repaired fabric and then the rest of the parts.
-
Screw back the pieces that were taken on the previous steps.
-
In need of another repair? Don't worry! Check out our other guides to find quick solutions for your favourite clothing, footwear and equipment!
----------------------------------------
🚨🛠️🩹 IMPORTANT SAFETY NOTICE:
The repair guides provided on this site are intended to help you repair products on your own. While we have put a lot of care into them, all repair work carries some risk:
- Safety Precautions: When repairing your product, take all necessary precautions to ensure your safety. Use appropriate tools and follow the instructions carefully.
- Product Condition: Once your product has been repaired, it may not meet original compliance guidelines anymore and could potentially have issues.
- Liability: We are not responsible for any damage or injury that may occur during the repair process or as a result of using a repaired product. You, as the repairer, assume all risks and responsibilities associated with the repair.
By using these repair guides, you fully acknowledge and accept the potential risks and responsibilities involved.

