Introduction
A tear in the knitted upper of your favorite shoes doesn't mean the end of their lifespan. We will walk you through an easy method using a self-adhesive patch to repair the tear, ensuring your knitted shoes remain both stylish and functional.
➡️Before you get started, please check the safety disclaimer at the bottom of the page.
-
-
Use scissors to trim any loose threads or fibers around the torn area.
-
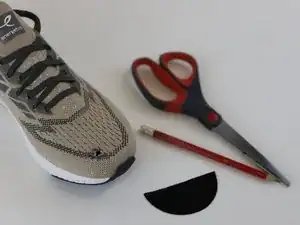
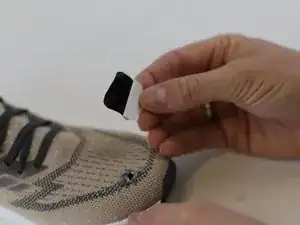
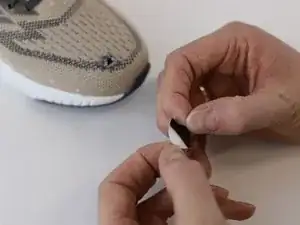
Prepare the self-adhesive patch and make sure it is big enough to cover the ripped knit area.
-
-
-
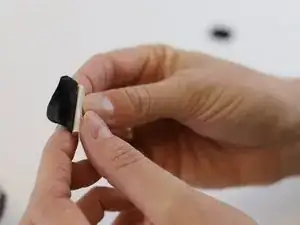
Gently remove half the cover paper from the backside of the patch.
-
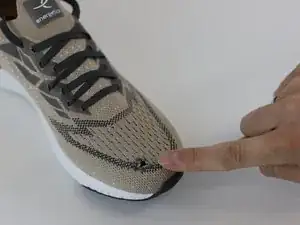
Hold the patch with 3 fingers to be able to insert into the front of the shoe.
-
-
-
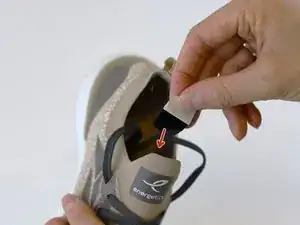
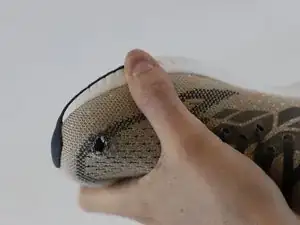
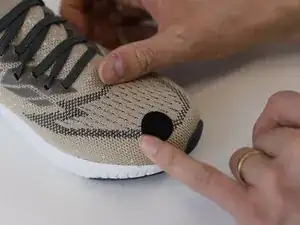
Gently insert the patch without touching the inside of the adhesive part and move forward with your hand until you can see it underneath the hole.
-
Peel off the rest of the cover paper and press the patch onto the upper from the inside.
-
-
-
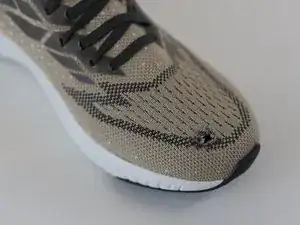
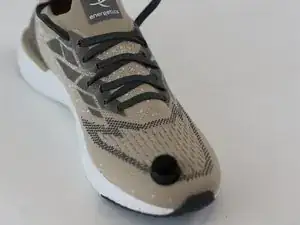
Place a small lid or a coin on top of the ripped area and check if it fully covers the hole.
-
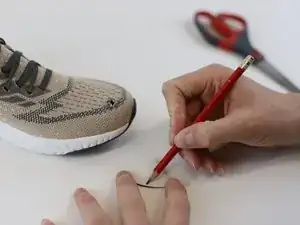
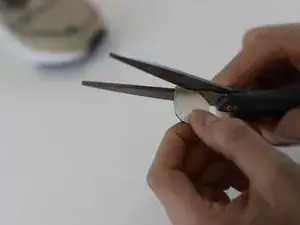
Use the lid/coin as template to draw a circle on the self-adhesive patch and then cut along the marked area.
-
Get creative: You might also like to cut a customized shape such as a leaf, bear, or heart. Wear it as a badge of pride, to remember the adventure that caused it!
-
-
-
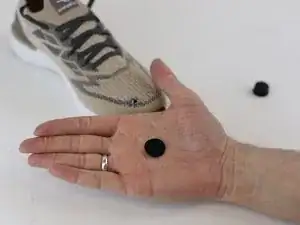
Peel-off cover paper. Be cautious that the patch doesn't fold over or wrinkle.
-
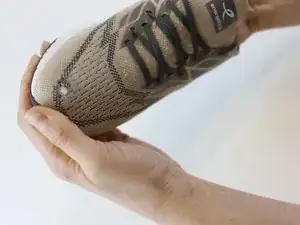
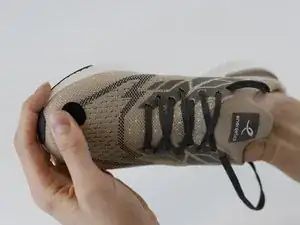
Place the patch evenly onto the ripped area and press both sides together from the inside and outside part.
-

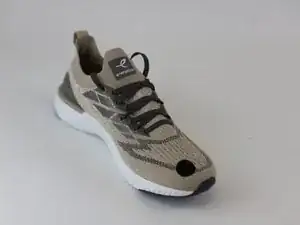

In need of another repair? Don't worry! Check out our other guides to find quick solutions for your favourite clothing, footwear and equipment!
----------------------------------------
🚨🛠️🩹 IMPORTANT SAFETY NOTICE:
The repair guides provided on this site are intended to help you repair products on your own. While we have put a lot of care into them, all repair work carries some risk:
- Safety Precautions: When repairing your product, take all necessary precautions to ensure your safety. Use appropriate tools and follow the instructions carefully.
- Product Condition: Once your product has been repaired, it may not meet original compliance guidelines anymore and could potentially have issues.
- Liability: We are not responsible for any damage or injury that may occur during the repair process or as a result of using a repaired product. You, as the repairer, assume all risks and responsibilities associated with the repair.
By using these repair guides, you fully acknowledge and accept the potential risks and responsibilities involved.