Introduction
A spray bottle has a simple function, yet it could have an outstanding value, if a user follows these methods to repair select parts around the head of the bottle. A spray bottle’s routine use around the household is critical because a typical person can entertain plenty of functions for this spray bottle. While using a spray bottle, the wear and tear will accumulate, thereby subjecting the bottle to broken and dislodged pieces.
This guide is essential to standard spray bottle users who require fixing and replacing the trigger spring item. Instead of abandoning the whole spray bottle over one displaced item, which is commonplace and a burden—fix it, as presented.
Tip: You can choose to leave the bottle head screwed or unscrew it, whichever is easier for you!
Caution: This repair uses small pieces that are choking hazards for small children and animals.
Tools
-
-
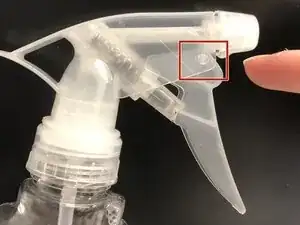
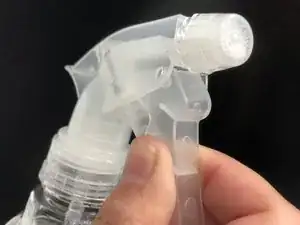
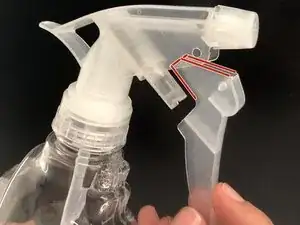
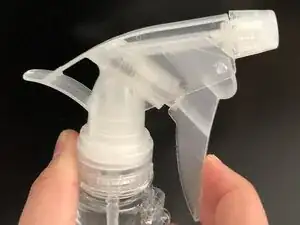
Slightly and gently spread the plastic head so you can easily slide out the trigger lever to access the remaining parts.
-
-
-
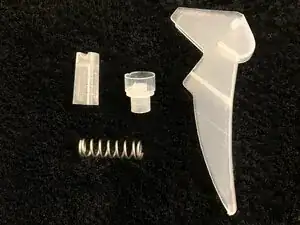
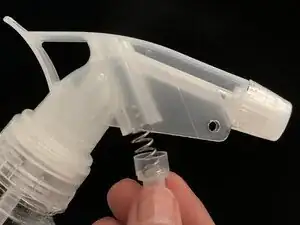
After separating the trigger lever from the rest of the bottle, place the spring into the opening slot.
-
-
-
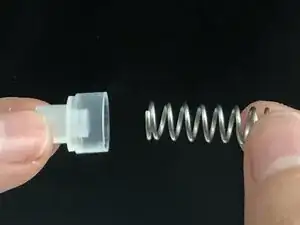
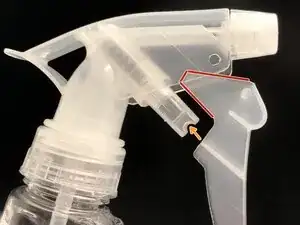
Connect the longer plastic piece, ensuring that the small gap splitting one end of the piece is horizontally facing out.
-
-
-
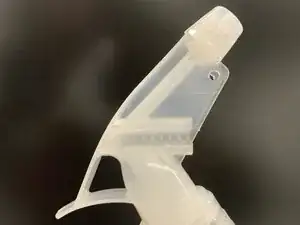
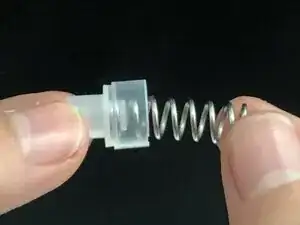
Slide the outlined plastic part into the bottle head, ensuring that all sides are inside the head and parallel to the bottom plastic part.
-
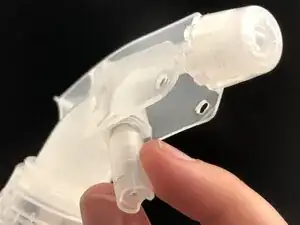
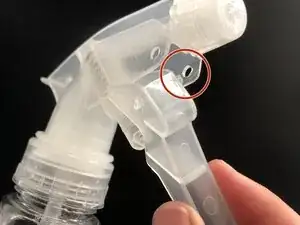
Confirm that the line in the middle of the trigger lever aligns with the gap in the previously attached plastic part.
-
-
-
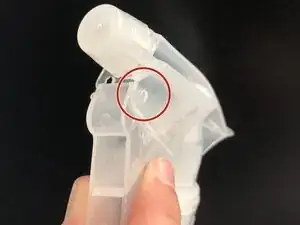
Insert the first protruding piece into its respective opening, then carefully pop the other side in.
-