Introduction
-
-
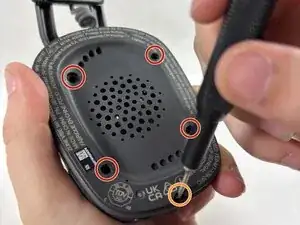
On the left speaker housing, remove the four 4.5 mm screws with a T3 Torx screwdriver.
-
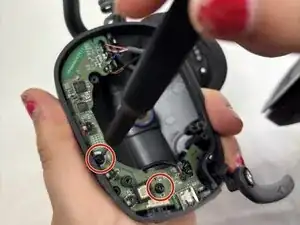
Remove the single 3.3 mm Phillips #00 screw.
-
-
-
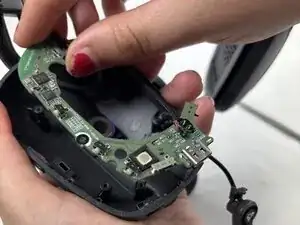
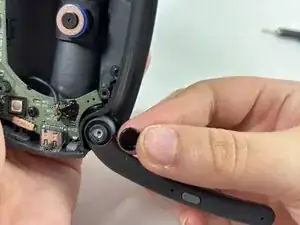
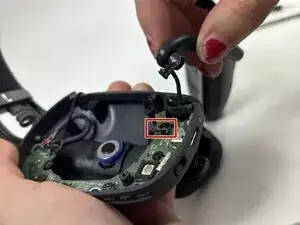
Remove plastic cover from the microphone hinge with your hands and clean any debris with a microfiber cloth.
-

Conclusion
To reassemble your device, follow the above steps in reverse order.
Take your e-waste to an R2 or e-Stewards certified recycler.
Repair didn’t go as planned? Try some basic troubleshooting or ask our Answers community for help.