Introduction
Here is a guide on how to install a new LCD display rubber seal ring on any MacBook Unibody Model from 2009-2012 (A1278 & A1286).
-
-
Please read through the complete guide before attempting this monumental task as 2 methods will be described. It is an extremely delicate and tedious work to get the rubber seated completely level around the frame.
-
We will start this guide from a stripped down display case as there are many steps involved to get to this point that can be found in the guide section: See LCD Replacement & Display replacement guides for your respective model as they are quite similar in process. In this method I have decided to not full remove the LCD frame. This is optional.
-
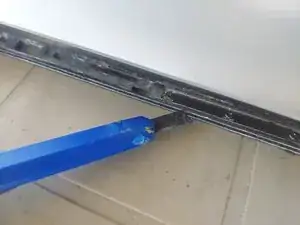
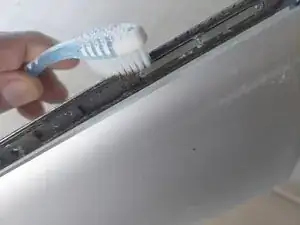
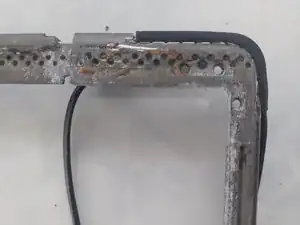
Once everything has been disassembled it is best to prepare the parts by removing all traces of adhesives and rubber for ease of installation and to avoid any uneven surfaces which may crack the display glass upon installation. For this I used a small craft knife to shave away any rubber fragments & an old toothbrush to clean it up afterwards.
-
(The inner frame only needs to be lifted at the top and at both sides as the rubber will fit around these parts only, it is optional to completely remove this).
-
-
-
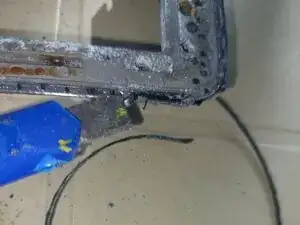
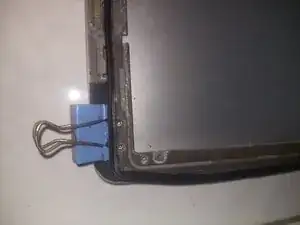
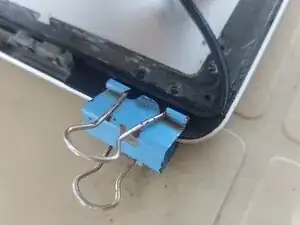
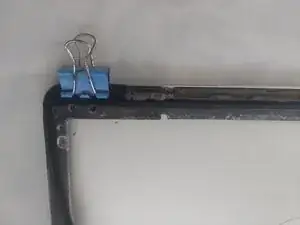
Using a small clip, clamp the edges holding the rubber seal in place. This will help to prevent it flying around while you position the remaining rubber around the LCD frame.
-
-
-
Now here comes the very tedious and time consuming part. Get the corners fitted 1st Using a thin spludger or your fingers to press in the rubber so it falls behind the LCD frame bit by bit, and then by massaging the rubber afterwards you may feel it pop into place more.
-
The corners are VERY tricky to do and extreme patience and care is required, do not stretch or pierce the rubber as this will make it near impossible to get back to it's correct size or worse even snapping it.
-
Once you are satisfied that the rubber is seated firmly and even all around you are ready to prepare the LCD frame for the installation of the LCD & display glass. It is recommended to test the Display, Camera, Bluetooth & WiFi functions before permanently placing & fitting the glass.
-
-
-
An alternative method would be to completely remove the LCD frame and try to gently glue the rubber onto it, this will also be very time consuming as you would need to do small sections at a time otherwise you might end up having the rubber come away with the glue and the glue will then end up everywhere making a total mess of the rubber etc.....
-
The 1st step would be to secure the bottom corners, and let the adhesive dry before moving onto the sides. The rubber as you can see will fit around the frame from both sides. Only a very little amount on adhesive is required as this can get messy & you only have one attempt to get it right. Secure both corners before moving onto the sides.
-
Once the bottom corners have fully dried and are fixed firmly, we can adjust the rubber to the top corners, but for now we do not secure them, Paper masking tape can be used to hold remaining rubber to the frame, and we will secure it in 5-10cm steps paying attention that we do not stretch the rubber as it will not comfortable fit if so.
-
It is imperative that the rubber is fixed tight before repeating the process in small steps (5-10cm). The frame needs to be 100% clear of any debris otherwise the rubber will not sit correctly and thus affecting the display glass installation.
-
I would suggest using some paper tape to hold the rubber in place while the glue dries, 10cm at a time with an hour or more to allow the adhesive to fully dry. This is precision work and requires maximum care & your full attention. This will, if done neatly be the more factory option as that is how is was originally installed.. GOOD LUCK!
-

To reassemble your device, follow the instructions in the pre-guides in reverse order.