Introduction
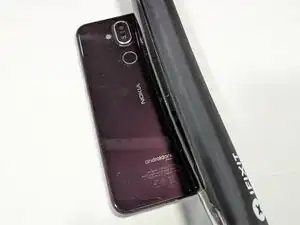
Replacing the battery on your Nokia 8.1 can breathe new life into your device, restoring its longevity and performance. If your phone is struggling to hold a charge or shutting down unexpectedly, swapping out the battery might be just what it needs. This guide will walk you through the process step by step, ensuring a safe and smooth replacement. Grab your tools, take a deep breath, and let's get started!
Parts
-
-
Before attempting to remove the back cover of your Nokia 8.1, it’s crucial to soften the adhesive that holds it in place. To do this, use the iFixit iOpener—a specialized heating pad designed for safe and effective adhesive loosening.
-
Start by placing your phone face-down on a flat, heat-resistant surface. Heat the iOpener in a microwave for the recommended time (follow the iFixit guidelines).
-
Carefully lay the warm iOpener across the entire back cover and let it sit for at least one minute. This allows the heat to penetrate and weaken the adhesive, making the removal process easier and reducing the risk of cracking the cover.
-
-
-
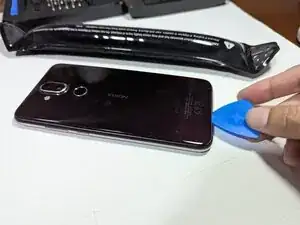
Start by inserting the pick at the bottom edge of the phone, as shown in the photo. Gently wedge it into the seam between the back cover and the frame, ensuring that you don’t insert it too far—the fingerprint sensor cable is inside and can be easily damaged.
-
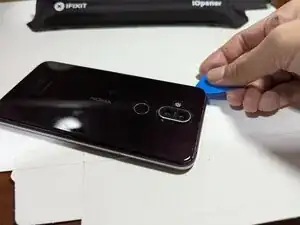
Using a slow sliding motion, work the pick along the bottom edge first, gradually moving around the perimeter to weaken the adhesive bond. If you encounter resistance, reheat the iOpener and apply it to the stubborn section for another 30-60 seconds before continuing.
-
Continue sliding the pick along the edges until the adhesive is loosened for all edges.
-
To reassemble your device, follow these instructions in reverse order.