Introduction
Does your OnePlus 9 Pro have no sound playing? Is the audio distorted, crackling, or popping? Are your favorite songs missing that awesome bass line or high violin trills? The issue might be your bottom loudspeaker. Be sure to check if there is debris or dust in the speaker. If not, use this guide to replace the bottom loudspeaker of your OnePlus 9 Pro.
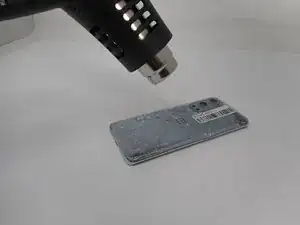
In step 3, you will use a heat gun. Use caution when handling high heat and follow the instructions on the packaging carefully.
-
-
Use a hair dryer to lightly heat the perimeter of the rear glass.
-
Additionally, heat the top-right corner, as there is adhesive further inside of phone in that one spot.
-
-
-
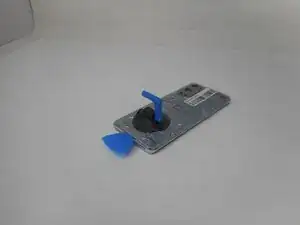
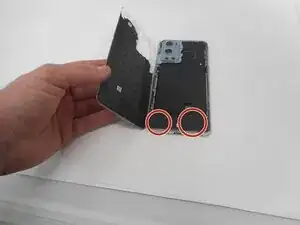
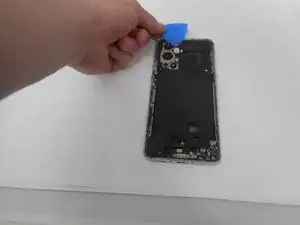
Apply a suction handle as close to the bottom edge as possible.
-
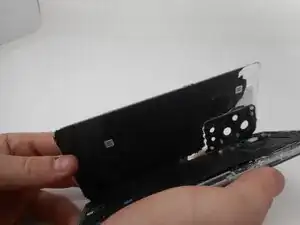
Pull up on the suction handle with strong, steady force to create a gap between the glass and the frame.
-
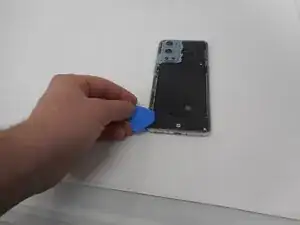
Insert an opening pick into the gap.
-
-
-
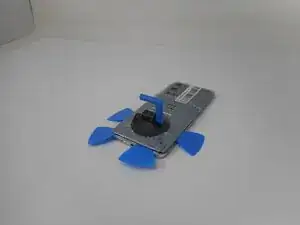
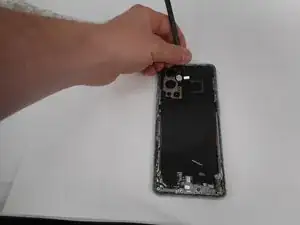
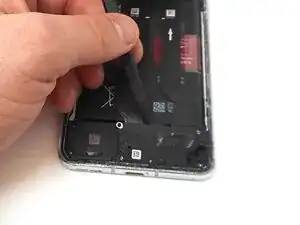
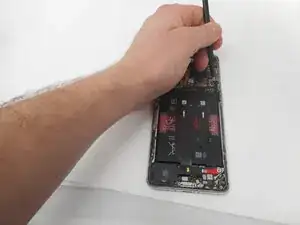
Slide the opening pick around the perimeter of the rear glass to slice the adhesive.
-
Insert additional opening picks as you slice the adhesive to prevent the adhesive from resealing.
-
-
-
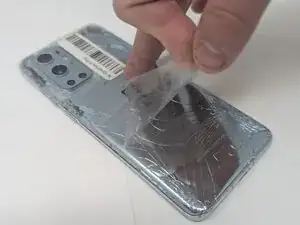
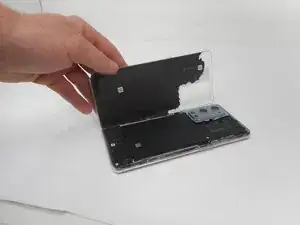
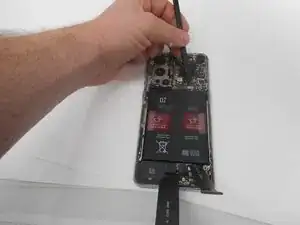
Use one of the opening picks to remove the adhesive on the lower part of the wireless charging cable
-
-
-
Unplug the press connector ribbon cable attached to the flash module by inserting a spudger under the bottom edge and prying straight up.
-
Use an opening pick to remove the flash module by the camera.
-
Use a Phillips #000 screwdriver to remove the eleven 4.9 mm-long screws holding the motherboard cover to the phone.
-
Use an opening pick to pry off the motherboard cover.
-
-
-
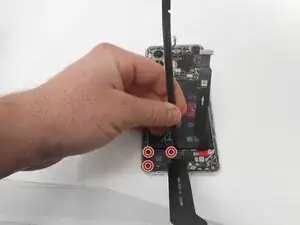
Use a Phillips #000 screwdriver to remove five screws that secure the lower daughterboard cover.
-
-
-
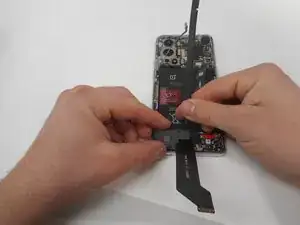
Disconnect the two interconnect cables by inserting a spudger under each lip and prying straight up.
-


To reassemble your device, follow the above steps in reverse order.
Take your e-waste to an R2 or e-Stewards certified recycler.
Repair didn’t go as planned? Try some basic troubleshooting or ask our Answers community for help.