Introduction

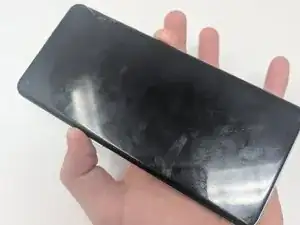
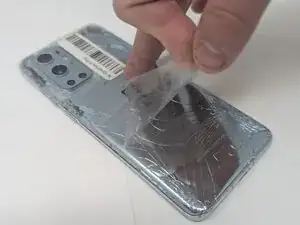
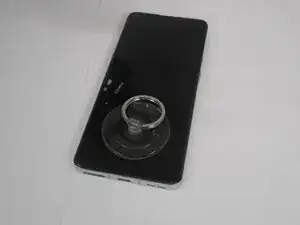
Is your screen on your OnePlus 9 Pro cracked or shattered? If so, then use this guide to replace it.

When removing a cracked screen, it is important to tape the screen first to avoid the glass going everywhere.

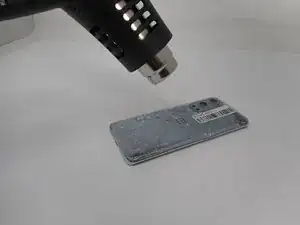
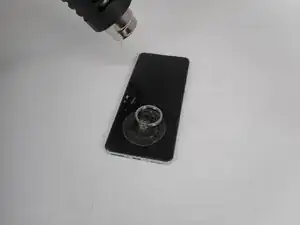
When using a heat gun, always use caution since there is a chance to burn skin or surrounding areas of the workplace.

  1. xMreHtRPd4NqBVST
    • For your safety, discharge your battery below 25% before disassembling your phone. This reduces the risk of a dangerous thermal event if the battery is accidentally damaged during the repair. If your battery is swollen, take appropriate precautions.

    • Unplug any chargers/peripheries and power off your phone.

  2. 11ZpSXJxehXZUEmy
  3. cxRCoCiTOHy2y3wj
    cxRCoCiTOHy2y3wj
    asBQLijAtskjmips
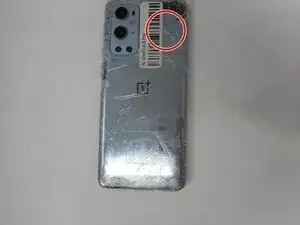
    • Use a hair dryer to lightly heat the perimeter of the rear glass.

    • Additionally, heat the top-right corner, as there is adhesive further inside of phone in that one spot.

    • Do not hold the hair dryer in one spot on the phone for too long to prevent damage to internal parts of the phone.

  4. qGQDJDFUxOYOcSOY
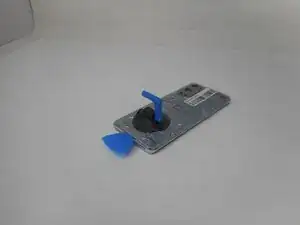
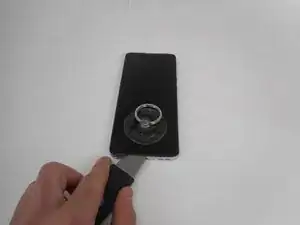
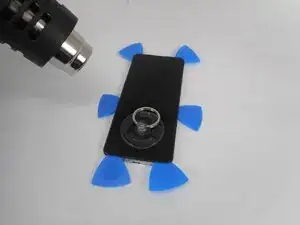
    • Apply a suction handle as close to the bottom edge as possible.

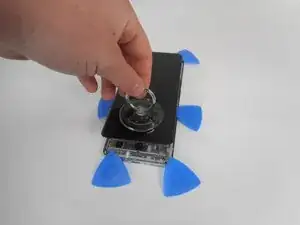
    • Pull up on the suction handle with strong, steady force to create a gap between the glass and the frame.

    • If you have trouble creating a gap, apply more heat to further soften the adhesive.

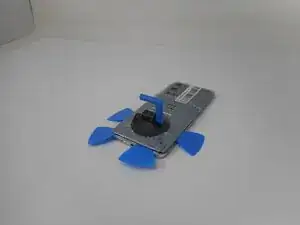
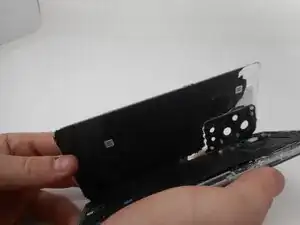
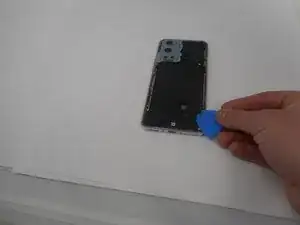
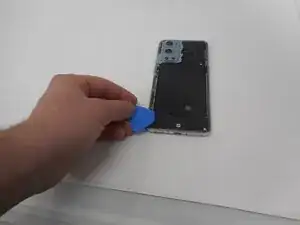
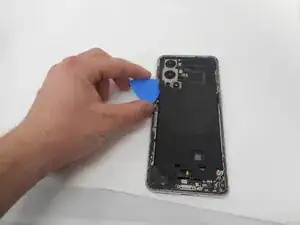
    • Insert an opening pick into the gap.

  5. tF1BmEcNeGVg6cGc
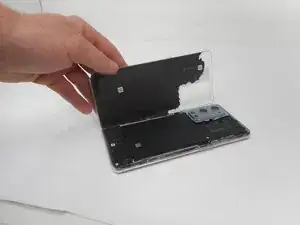
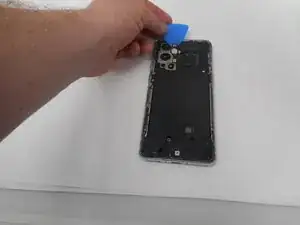
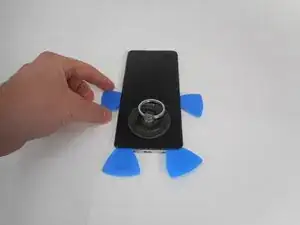
    • Slide the opening pick around the perimeter of the rear glass to slice the adhesive.

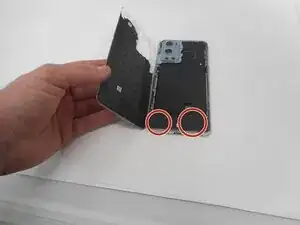
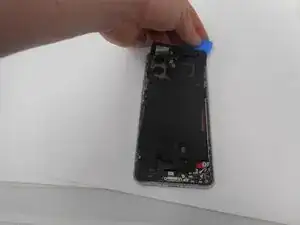
    • Insert additional opening picks as you slice the adhesive to prevent the adhesive from resealing.

    • If the adhesive becomes hard to cut, it has most likely cooled down. Use your hair dryer to reheat it.

  6. AiEeiCMwr3gqfDww
    AiEeiCMwr3gqfDww
    AwuHOrYHnQCnNVPq
    • Carefully lift the rear glass up and off of the phone.

    • During reassembly secure the rear glass with pre-cut adhesive or double-sided adhesive tape. After installing the rear glass, apply strong, steady pressure to your phone for several minutes to help the adhesive form a good bond—a stack of heavy books works well.

  7. g1tRWVAGy2DyllMx
    g1tRWVAGy2DyllMx
    6sNcC11NYbJOeFOg
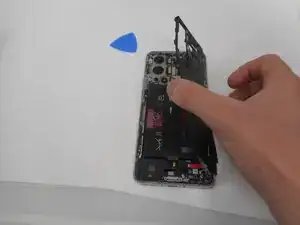
    • Use one of the opening picks to remove the adhesive on the lower part of the wireless charging cable

  8. AROvLRMxG4tNcmS2
    AROvLRMxG4tNcmS2
    12xUCpYxNtkBv6gm
    MZITfEZgqBJaeCSL
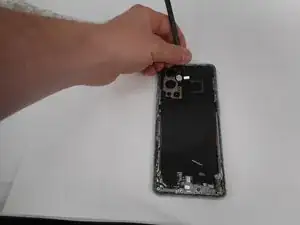
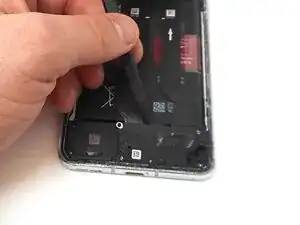
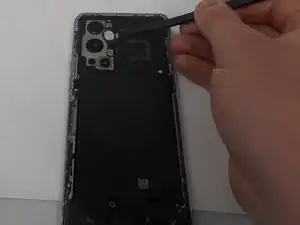
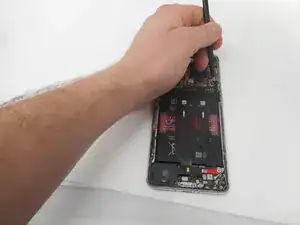
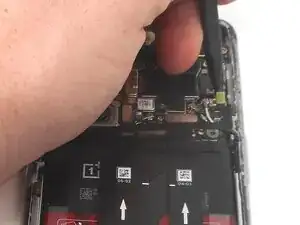
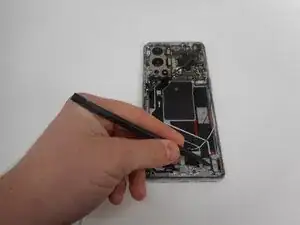
    • Unplug the press connector ribbon cable attached to the flash module by inserting a spudger under the bottom edge and prying straight up.

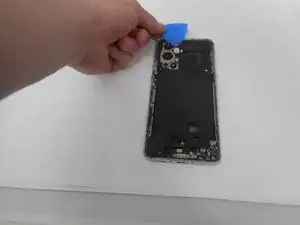
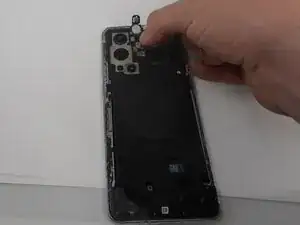
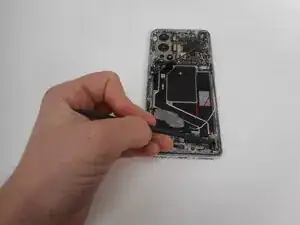
    • Use an opening pick to remove the flash module by the camera.

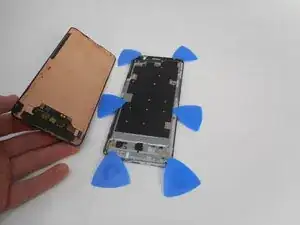
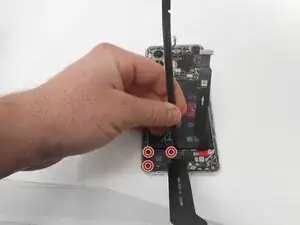
    • Use a Phillips #000 screwdriver to remove the eleven 4.9 mm-long screws holding the motherboard cover to the phone.

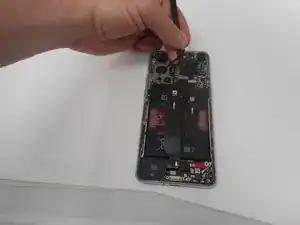
    • Use an opening pick to pry off the motherboard cover.

  9. sTFd3MWHpxvT2RGj
    • Use a Phillips #000 screwdriver to remove five screws that secure the lower daughterboard cover.

    • Two of the screws have a white head and are 4.8 mm-long. They go in the bottom right corner of the daughter and mother board.

    • The other three screws are black and are also 4.8 mm-long.

  10. Jqy2lusECxY2amiy
    Jqy2lusECxY2amiy
    XinuQDOQT3GcApiM
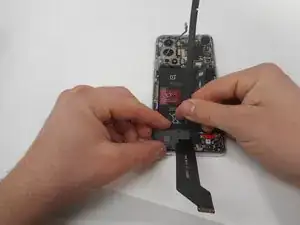
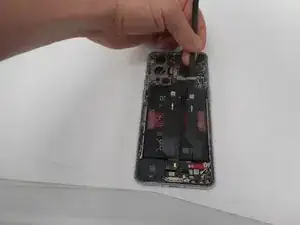
    • Disconnect the two interconnect cables by inserting a spudger under each lip and prying straight up.

  11. Lqnx1K1aDKCqUJxF
    • Remove the three screws from the loudspeaker using a Phillips #000 screwdriver.

  12. WCADDPYP3juuaLKR
    • Use the spudger to pry up and remove the loudspeaker.

  13. FOZxJE6DxRPl4ZtQ
    FOZxJE6DxRPl4ZtQ
    bO3kWRhxovrAkNdp
    uyJMB3SJTKTtSRnr
    • Use an opening pick or tweezers to carefully peel back the adhesive on the bottom of the wireless charging module.

  14. nYxmymAPQPWQoGi6
    nYxmymAPQPWQoGi6
    c161KPWdEFUFdCiK
    MJPwQipMC3jyWGVU
    • Pry on the bottom of the flash module off using a pick and use tweezers to get under the module without ripping it.

    • Be careful unplugging the module as the cable is very delicate.

  15. pNWyxA6BfHDYqvwT
    • Use a Phillips #000 screwdriver to remove the eleven 4.8 mm-long screws securing the motherboard cover.

  16. rq3NsaQ5UopRDxDM
    rq3NsaQ5UopRDxDM
    Bko45bmKNyOQ2VEZ
    McF6mZBN3KWsNxcO
    • Pry around the phone with picks to remove the motherboard cover.

  17. go4mtqyj3GSrbDWI
    • Lift off the motherboard cover.

  18. cPqCBaEBgMbXdiAj
    cPqCBaEBgMbXdiAj
    LZW34fUEJBwtwOMv
    • Pry up and disconnect the press connector ribbon cable in the top right with a spudger.

    • Make sure not to damage them in the process.

  19. 12JL1CpP2wmyZaDI
    12JL1CpP2wmyZaDI
    W4xVF6HBJyNXSYIf
    6JCTrgRgJIWH1kul
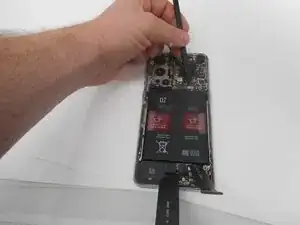
    • Use a spudger to disconnect the two interconnect cables from the motherboard by prying the connector straight up from its socket.

  20. EsmhMLXwIhFfu1ZH
    EsmhMLXwIhFfu1ZH
    GavyXeDAdMujADy5
    • Take care not to bend or puncture battery during the removal procedure—a bent battery may leak dangerous chemicals or cause a fire.

    • Remove the battery from the phone by slowly pulling up on the red tabs.

    • If you're having trouble lifting the battery out of its recess, apply a heated iOpener to the screen side for two minutes to loosen the battery adhesive.

    • A hair dryer, heat gun, or hot plate may also be used, but be careful not to overheat the device.

  21. rvWFhSmBYbb4qBIA
    rvWFhSmBYbb4qBIA
    KgOnohgdUi2NPDU4
    • Use the spudger to unplug the ribbon cable that connects the screen to the rest of the phone.

  22. KDPEo3kjxGBrPySF
    • Place the suction cup on the glass towards the bottom of the screen.

  23. EmonMLavrXf6QoaV
    • Heat the adhesive holding the screen onto the phone by using the heat gun on the edges of the screen.

    • Be sure to use caution when using the heat gun.

  24. TSds55ttBW6KHFG5
    TSds55ttBW6KHFG5
    aNoTRrJ2LIKSEIgU
    LZHsnBNXeEiqgZfB
    • Put the jimmy into the bottom edge of the screen.

    • Use an opening pick to slice the adhesive, and place opening picks around the perimeter as you slice to avoid the adhesive from resealing.

    • Reheat the screen as needed.

  25. xmDJt5Hpwh31vPjP
    xmDJt5Hpwh31vPjP
    sODBX3YXr1YmOfsb
    • Carefully pull up on the suction cup to pull the screen away from the phone.

Conclusion

To reassemble your device, follow the above steps in reverse order.
Take your e-waste to an R2 or e-Stewards certified recycler.
Repair didn’t go as planned? Try some basic troubleshooting or ask our Answers community for help.

Averie

Member since: 17/02/25

253 Reputation

0 comments