Introduction

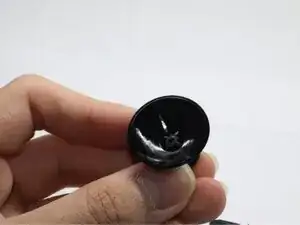
If the rubber ends of your Razer Hydra controller's joystick have come off, it may be time to replace them. Use this guide to safely disassemble the controller and replace the joystick cover.

Joysticks provide the grip needed to effectively operate a controller. As the rubber ends of a joystick wear down, slippage may occur, leading to inaccurate input signals. Replacing the joystick covers will restore the effectiveness of your controller.

Before beginning, make sure to power off the controller and unplug the console from any external power source.

  1. 3jpLTSIe2njwe2RG
    3jpLTSIe2njwe2RG
    oQlZ6OxuNmxSJLfu
    iNBBIfRpZwu5aGux
    • Use the pointed end of a spudger to remove the three rubber ends that cover three screws.

  2. 1aA1cfoAXxMHa5Jc
    1aA1cfoAXxMHa5Jc
    PqtJjGRneIbWqDwC
    1xB3S3okRdwMoPZX
    • Use a Phillips screwdriver to remove the three screws.

  3. CCjkApLguuvjeglX
    CCjkApLguuvjeglX
    4NslaixMiwPnv1DD
    • Hold onto the bottom of the controller, and slide the top shell off.

  4. xjcn6KSTdfA5mC5I
    xjcn6KSTdfA5mC5I
    uLNPPAmkcOlOWgb3
    U1KKU6ZSPAU6iVaI
    • Slowly pull up the black locking tab connector attached to the ribbon cable.

    • BE CAREFUL! This black piece does not come off. Only lift it so that it is not holding the ribbon cable.

  5. YFEBGKM3v5mqG4pX
    YFEBGKM3v5mqG4pX
    U4MMCDTQONLMVpWw
    • Separate the ribbon cable from the housing.

  6. eoYqBaOetqyU6cdi
    eoYqBaOetqyU6cdi
    TAQlq6ClQZbFloUq
    S3ZCsd3FPIjDbecC
    • Use a Phillips screwdriver to remove the two screws securing the joystick PCB to the case.

  7. Jl6IuiMaQD4vWhes
    Jl6IuiMaQD4vWhes
    SDeMW42i6TW5YCo2
    • Gently remove the joystick board.

  8. D522oqSAVtnPPBTB
    D522oqSAVtnPPBTB
    iSMVK2lAKi2Ygtmm
    l5RnvyWEIMEyEPPo
    • Remove the two screws on the joystick board.

  9. TKfUUWkQSLIMCHHn
    TKfUUWkQSLIMCHHn
    WW1minGBPyVaKMTM
    WlxaXVuyHSSAXbWT
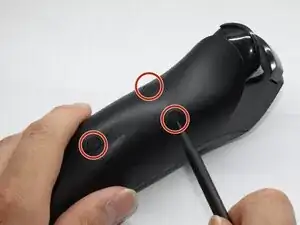
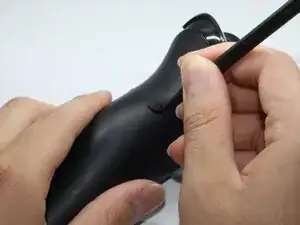
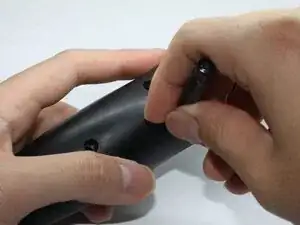
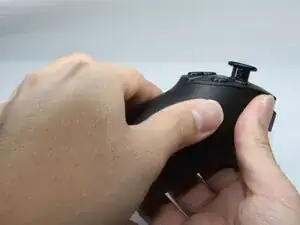
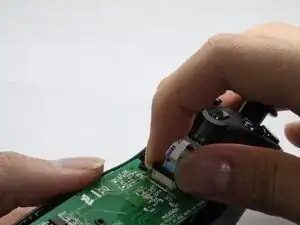
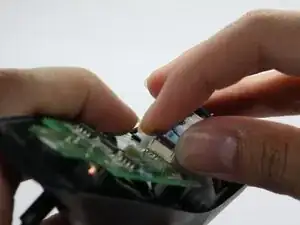
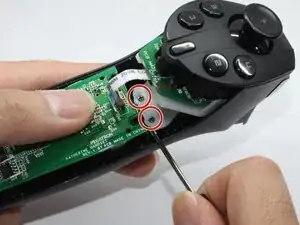
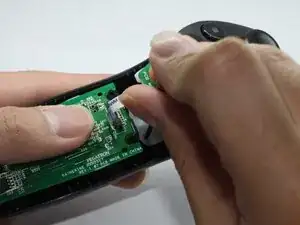
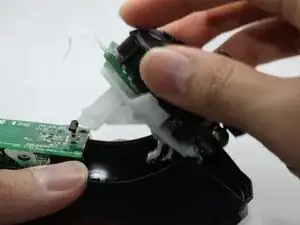
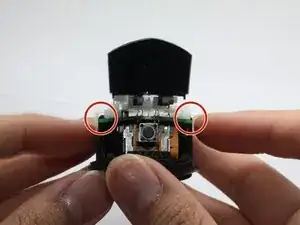
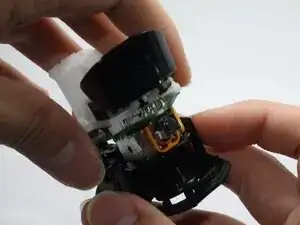
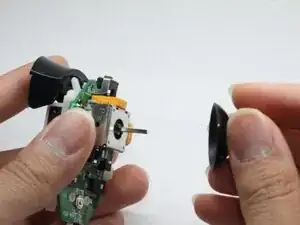
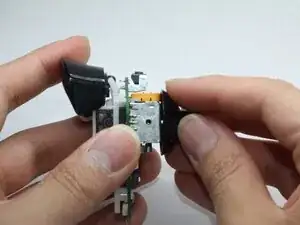
    • Gently pry the black side pieces apart from both ends.

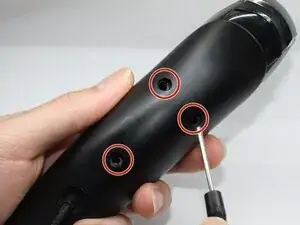
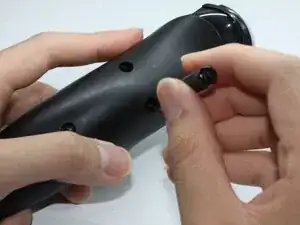
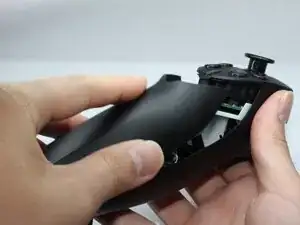
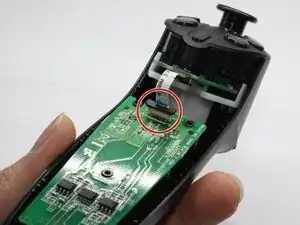
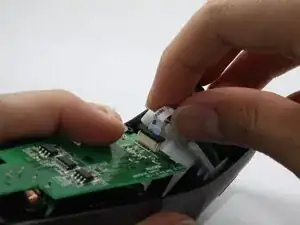
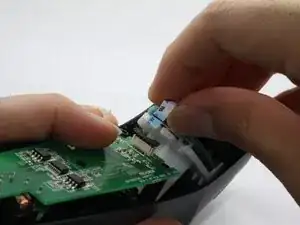
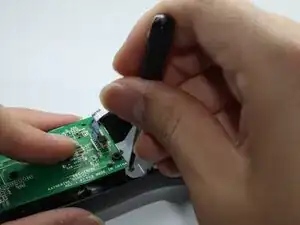
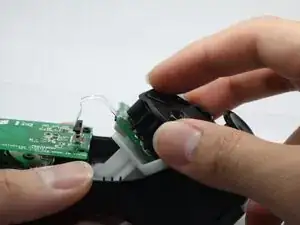
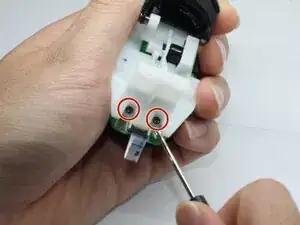
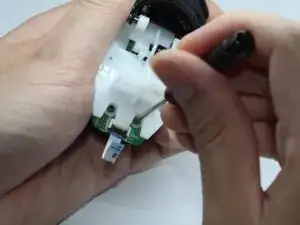
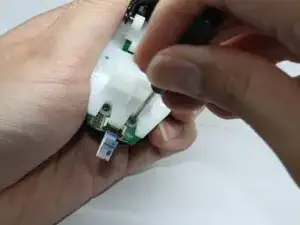
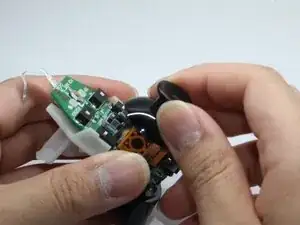
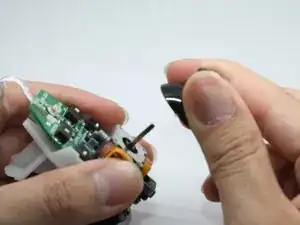
    • Remove the surface shell from the board.

  10. ilKT3JBdQiPXIM6U
    ilKT3JBdQiPXIM6U
    loxrFrZxUw5HBUBb
    NbGO2XDKYqFUfKXv
    • Firmly grip the damaged joystick and pull it from the board.

  11. qnjhs661AowavF1I
    qnjhs661AowavF1I
    ANsHfRwjiNFOVdIU
    • Take your new joystick part and push it back onto the bar.

    • Make sure you put it on straight in order to not damage the joystick board.

Aiden Y.

Member since: 14/04/25

193 Reputation

0 comments