Introduction
This is a guide on replacing the M1 and M2 bumpers on the Razor Kishi v2 pro. Whether you're dealing with unresponsive buttons or simply want to refresh your controller, this step-by-step tutorial will help you restore full functionality and get back to gaming in no time. Let’s dive in and get your controller working like new!
Tools
-
-
Put the device down with the bottom facing up.
-
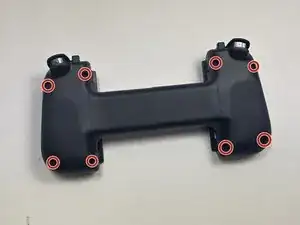
Remove the eight 12 mm screws from the back of the controller using a T5 screwdriver.
-
-
-
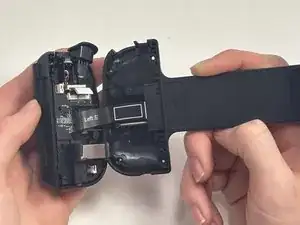
Gently apply light pressure to the front top half of the controller and slowly lift it up.
-
Repeat for the opposite side of the controller.
-
-
-
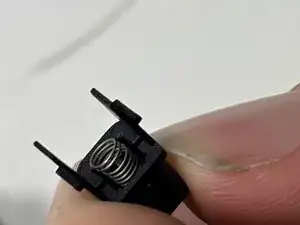
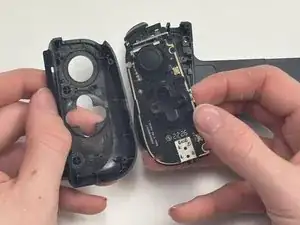
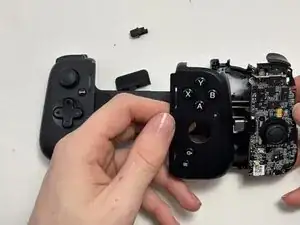
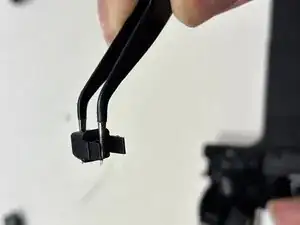
During the disassembly of the front panel, the small M1 and M2 buttons might have fallen out of place. If they did, skip the next step.
-

To reassemble your device, follow these instructions in reverse order.