Introduction
Whether you're dealing with worn-out or damaged bumpers on your Razer Kishi v2 Pro, this guide will help you restore your controller to its original condition, ensuring you continue to enjoy smooth gameplay without any interruptions. Let's get started and bring your controller back to top performance!
Tools
-
-
Put the device down with the bottom facing up.
-
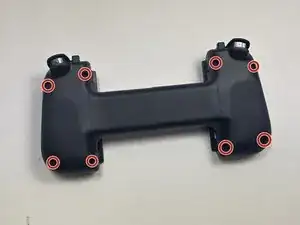
Remove the eight 12 mm screws from the back of the controller using a T5 screwdriver.
-
-
-
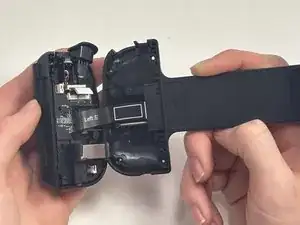
Gently apply light pressure to the front top half of the controller and slowly lift it up.
-
Repeat for the opposite side of the controller.
-
-
-
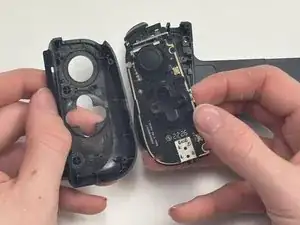
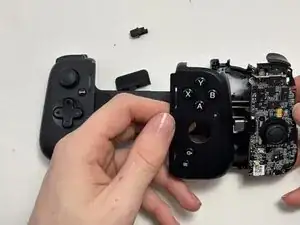
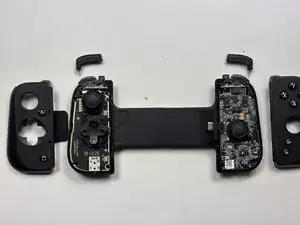
The L1 and R1 bumpers might fall out of their place; if they don't, just grab the bumper and pull on them and they will come right out of their slots.
-
To reassemble your device, follow these instructions in reverse order.