Introduction
The Sony ULT Wear may be having issues with the driver if sound is distorted, there is no audio, or a lack of bass not defined in the settings. In this guide you will learn how to replace the driver safely without disrupting the small wires that connect to the driver.
Before using this guide, make sure that the headphones are clean of debris to eliminate any external factor affecting the headphones sound. Once you are ready to begin, make sure to power off your device to prevent any short circuits or internal electrical damage, as well as potential shocks or burns.
-
-
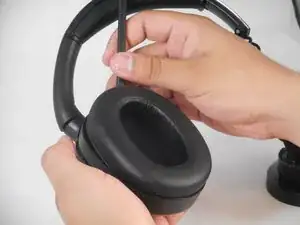
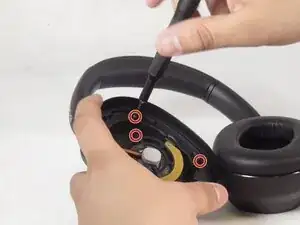
Remove the affected driver's ear pad from the can to reveal 8 8.2 mm screws.
-
Unscrew all eight Phillips #00 screws from the driver housing.
-
-
-
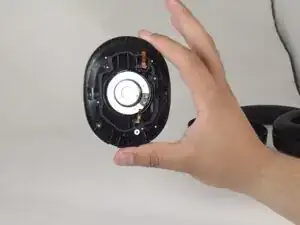
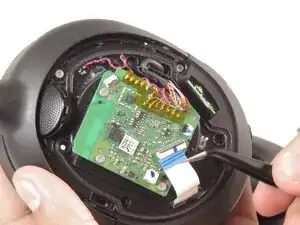
Flip the can upside down, so the top of the PCB is facing upwards.
-
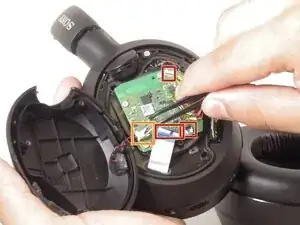
Flip up the three black ZIF locking flaps and disconnect each of the three ribbon cables with tweezers.
-
Grip and pull the white connector directly out of its socket.
-

To reassemble your device, follow the above steps in reverse order.
Take your e-waste to an R2 or e-Stewards certified recycler.
Repair didn’t go as planned? Try some basic troubleshooting or ask our Answers community for help.