
Introduction
This tutorial demonstrates how to swap out the Sony WF-1000XM3 earphones' main board. The main board might be affected if, after testing and swapping out other parts like the speaker or battery, the earphones still don't turn on. Damage to its tiny parts, either mechanical or electrical, may be the cause of this problem. It takes patience and a reasonable level of technical expertise to replace the main board.
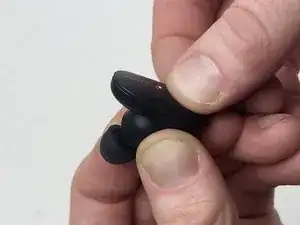
Before you begin this repair, make sure your earbuds are turned off and you remove the batteries.
Caution: This repair requires soldering to remove the main board. For instructions and safety tips on soldering and desoldering, review this guide.
-
-
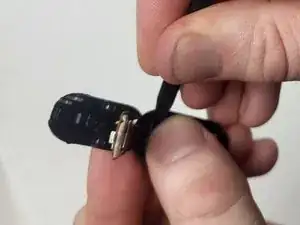
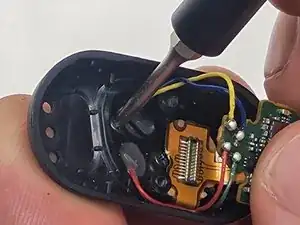
Use a Phillips #000 screwdriver to remove the two 4 mm screws securing the internal components.
-
-
-
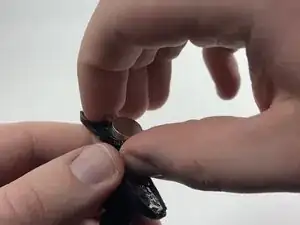
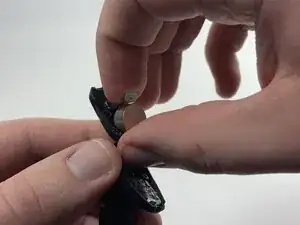
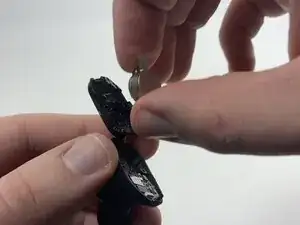
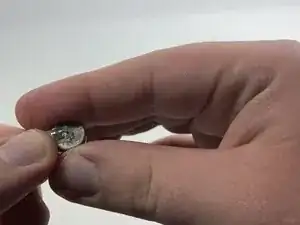
Remove the metal negative terminal from the battery.
-
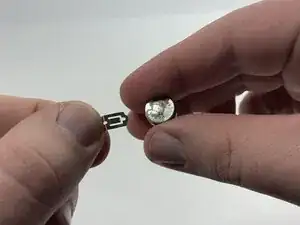
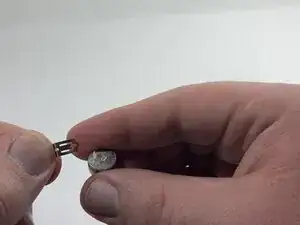
Attach it to the new battery, either through double-sided tape or by placing the new battery and the terminal back into the earbud in the same position it was previously.
-
-
-
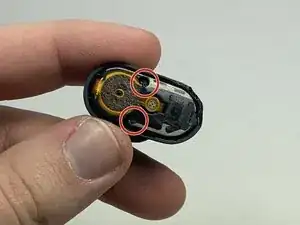
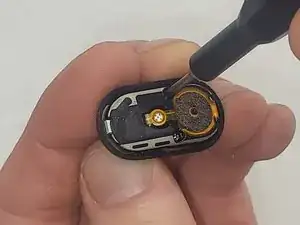
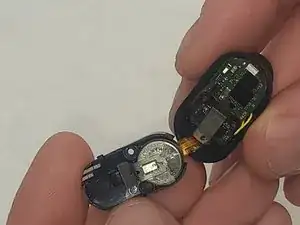
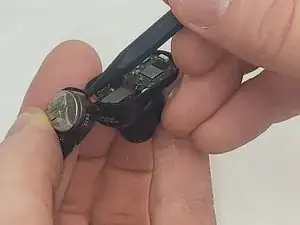
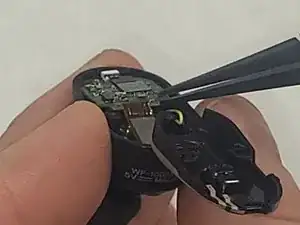
Use the spudger and tweezers to remove the small connectors holding the main board in place
-
If your device contains soldered components, carefully desolder them with the soldering iron
-
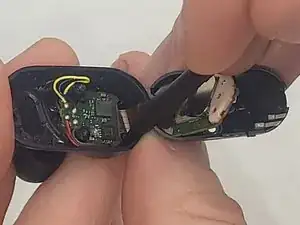
Gently remove the main board
-

To reassemble your device, follow these instructions in reverse order. Take your e-waste to an R2 or e-Stewards certified recycler.