Introduction
If the SummerLookout Duo is displaying broken images, it may need a restart. Check out this troubleshooting guide if that's the case. If the physical display is cracked or broken, and if you have already replaced the battery and restarted it a few times, it may be necessary to replace the display screen. The display screen and motherboard are connected as one piece, and issues may be occurring due to the motherboard as well. Not sure where to start? This step-by-step guide will aid you in replacing both.
Before beginning the replacement process, ensure that the device is off and completely dry. This will reduce the risk of shock hazards or any further damage to the device.
CHOKING HAZARD: This device contains small screws. If possible, use a magnetic mat or small container within eyesight to keep track of the screws to prevent possible ingestion or misplacement.
-
-
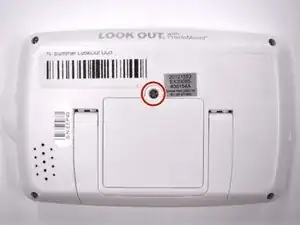
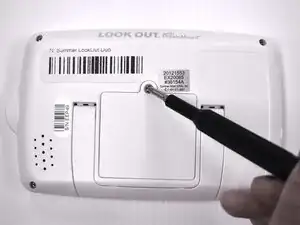
Flip the device over so the back is facing up.
-
Remove the 9 mm screw using a Phillips #1 screwdriver.
-
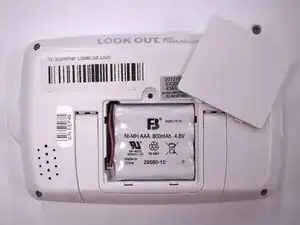
Lift the battery panel away from the device.
-
-
-
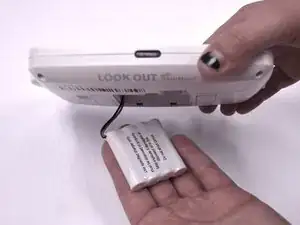
Flip the handheld monitor over and let the battery fall out into your hand.
-
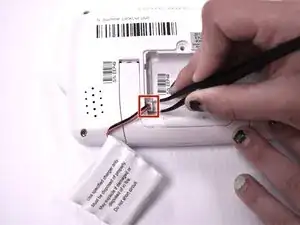
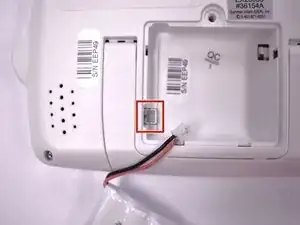
Using angled tweezers, gently remove the plastic wire coupling from the side of the open battery compartment.
-
Remove the battery from the device.
-
-
-
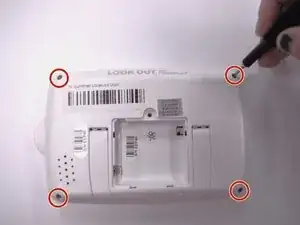
Using the Phillips #00 screwdriver, remove the four 7mm screws from each corner on the back of the handheld monitor.
-
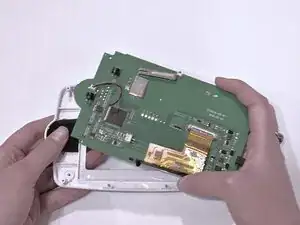
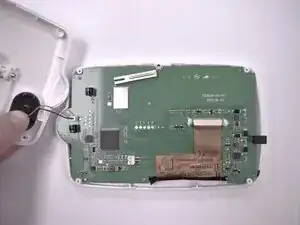
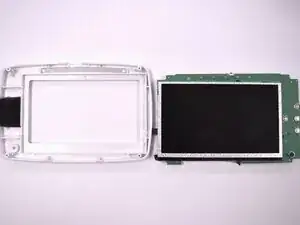
Remove the casing from the back of the handheld monitor.
-
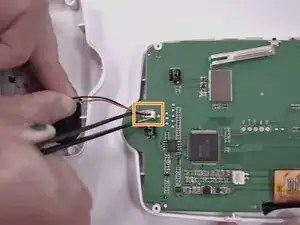
Using the angled tweezers, gently remove the plastic wire coupling connecting the speaker to the motherboard.
-

To reassemble your device, follow these instructions in reverse order.