Introduction
-
-
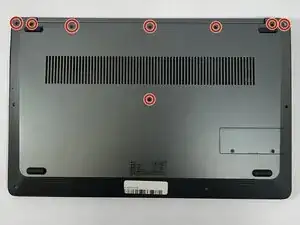
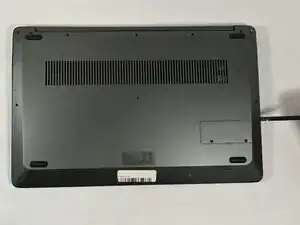
Remove the eight top and middle 7.3 mm screws using the Phillips #0 screwdriver.
-
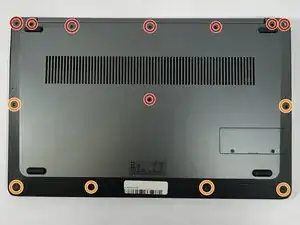
Remove the six bottom and side 4.4 mm screws using the Phillips #0 screwdriver.
-
-
-
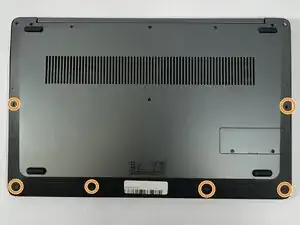
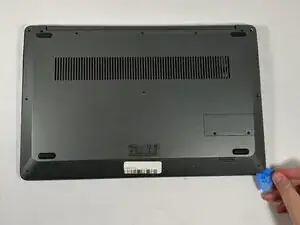
Use the nylon spudger to gently pry a bit of the back panel open. With the opening pick, go all the way around until the back panel is loose.
-
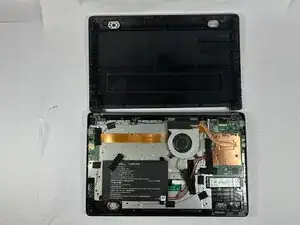
Pull the back panel off the laptop.
-
-
-
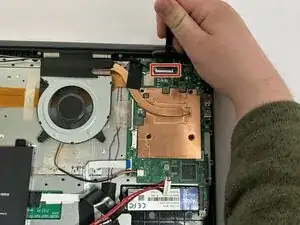
Using the nylon spudger, unclip the clip holding the touchpad cable down.
-
Disconnect the touchpad cable.
-
-
-
Using the nylon spudger, unclip the clip holding the keyboard ribbon cable in place.
-
Disconnect the keyboard ribbon cable.
-
-
-
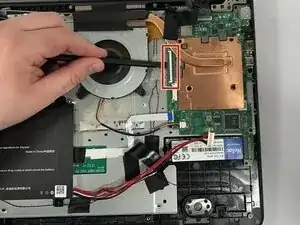
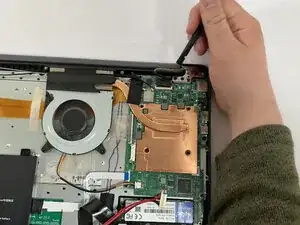
Using the nylon spudger, unclip the clip holding the screen cable in place.
-
Disconnect the screen cable from the motherboard.
-
-
-
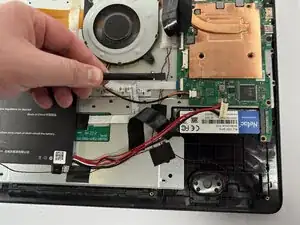
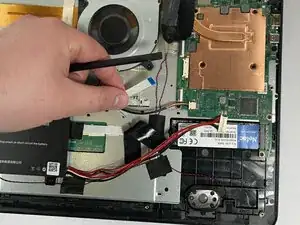
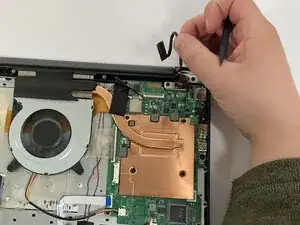
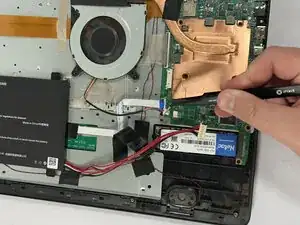
Using the tweezers, grab the wire connector.
-
With the tweezers in place, push away from the motherboard to disconnect the wire.
-
-
-
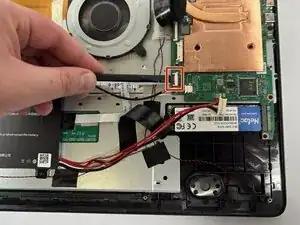
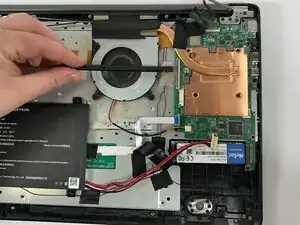
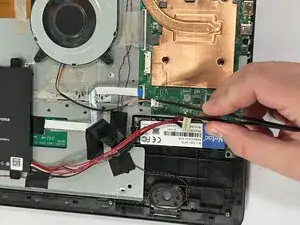
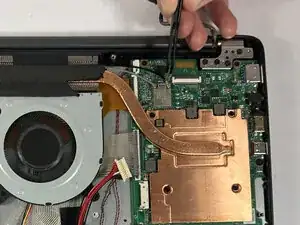
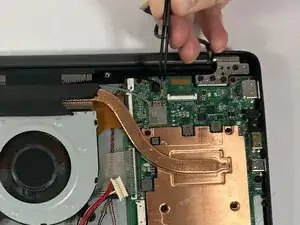
Using the angled tweezers, firmly grip the black Wi-Fi cable.
-
With a firm grip, pull the black Wi-Fi cable off the motherboard.
-
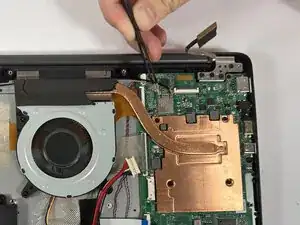
Do the same to the grey cable.
-
To reassemble your device, follow these instructions in reverse order.