Introduction

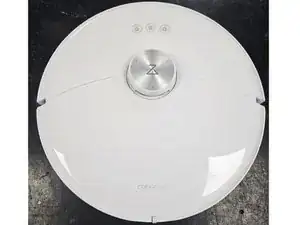
This is just a general teardown guide for the robotic vacuum cleaner Roborock S8 MaxV Ultra.

This only covers the robotic vacuum cleaner, and not the dock as well.

  1. dhEwewtPWbMFoqiC
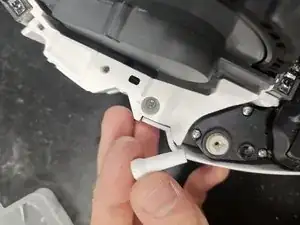
    • Begin by removing the back and front halves of the top plate.

    • The back is held in place by magnets, and is easily removable. Just grab it on the sides or the back and give it a lift.

    • The front is held in by a couple latches. They're not super tight, so you should be able to pull it off by grabbing the front edge and pulling on it.

    • Try not to bend the front while getting the latches free.

  2. uhoJHRAVxHQBXMrh
    uhoJHRAVxHQBXMrh
    woRNoarXVxfuLZLo
    CUs3jmGAB3souJFd
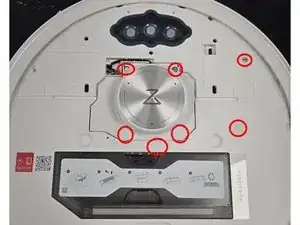
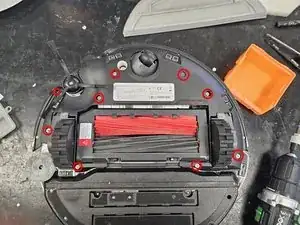
    • Start by removing the visible screws.

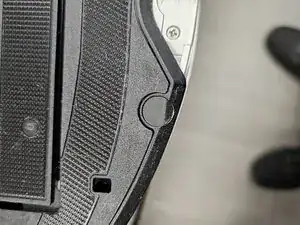
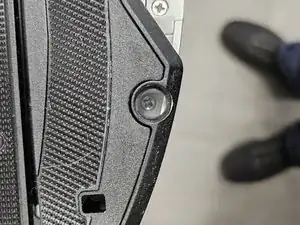
    • The bottom 4 are covered by plastic tabs that are glued on. Use your tweezers or box cutter/exacto knife to pry them off.

    • The top left is covered by a warranty sticker.

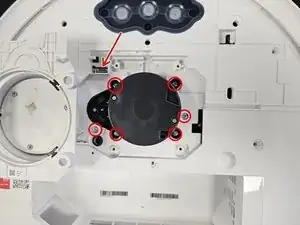
    • When removing the liDAR cage, be careful of the cable. It is connected on the left side.

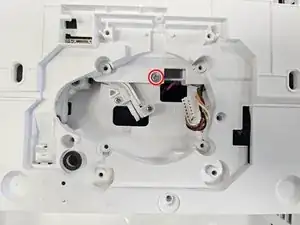
    • When removing the LiDAR, be careful of the cable once again. It is connected to the PCB on the bottom of the LiDAR.

    FYI half of my LiDAR's screw holes were underneath the casing, making it an absolute pain in the rear to remove. You still have to do this b/c there is a screw holding it all together underneath it.

    Jody Williams -

  3. vNIZDEhwGu3XWDEY
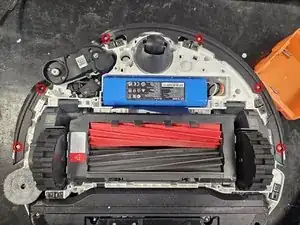
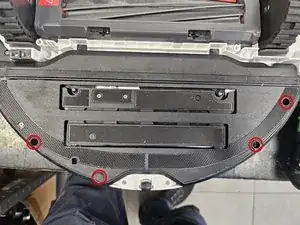
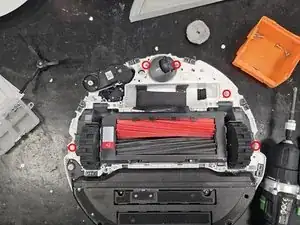
    • Now flip the robot over and remove visible screws.

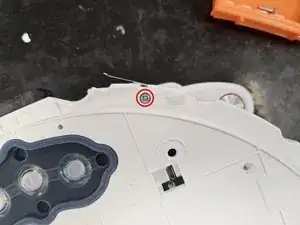
    • The top right is covered by a warranty sticker.

    • Now simply pull the bottom plate off. If you got all the screws, nothing else should be holding it in place.

  4. RbAdyYwjBYPKKNOC
    RbAdyYwjBYPKKNOC
    hpYuAlQB65HMQKEC
    • Remove the screws on the bumper.

    • Now remove the cover that held the bumper in place. You will need to move it around a bit around the FlexiArm (Top left in the picture)

    • When moving it around, do not bend it too much. You can permanently deform it.

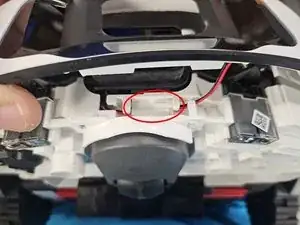
    • Once you have removed the cover of the bumper, make sure to disconnect the connector that connects the light in the bumper to the motherboard.

    • Detach it before pulling the bumper off, as you could tear the cables.

  5. thJvYBrxGMSbiBNK
    • Try not to get bitten or scratched.

  6. s5S4OtXEe1etDpeF
    s5S4OtXEe1etDpeF
    6qYhFDDxasQNDMWQ
    cyZuFPciRjdmMSXa
    • Remove the screws.

    • One is covered by a rubber cap.

  7. qmWvdHSDLaOSmGXg
    qmWvdHSDLaOSmGXg
    JxsZ326WhP2gPQxB
    6yeIim1fwjrDNoa6
    • Now, flip it over and remove a screw on top.

    • Flip it over again and remove the rest of the screws.

    • One is covered by a pretty long rubber cap.

  8. XhthQGEhSo6sDYMB
    XhthQGEhSo6sDYMB
    JC4baAeJRcmS5rB4
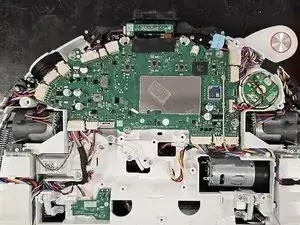
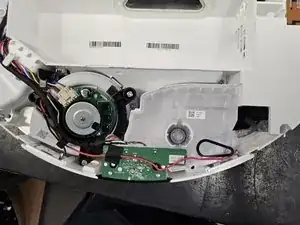
    • You've got it open!

    • The front half houses the motherboard, as well as a myriad of other sensors and elements.

    • The back half houses the suction fan, and water tank. I measured the water tank to be roughly 100ml.

  9. wKlfXlSHrAikNMeQ
    wKlfXlSHrAikNMeQ
    KUUXuWidwYSbXphH
    Fh3jQ6V6qIYSfKNF
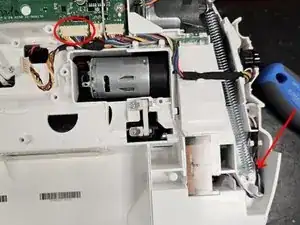
    • First, disconnect the connector from the motherboard.

    • Do be gentle doing this. I've broken the connector on the motherboard before.

    • Get the cable out of the housing and through the hole indicated by the arrow.

    • Flip it over, then get the wire out of the housing. Use your tweezers for this.

    • Flip it over again, then detach the pipe from the water tank.

    • The VibraRise is still loosely held in place by 2 latches on the left and right sides.

DegenFixer

Member since: 18/09/24

4661 Reputation

0 comments