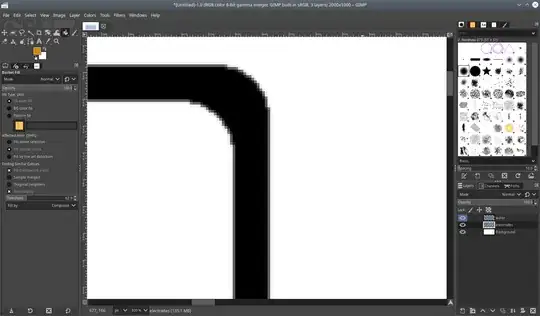
In GIMP, I'm using the "Bucket Fill" tool to add colour to a black surface. The shape I am filling includes different shades of black/grey, with different alpha values, as can be seen in the image below:
Adjusting the "Threshold" option allows for the Bucket Fill tool to affect areas with different colours that touch each other, either vertically-horizontally, or that and diagonally. This is a great option, but I have yet to find a way to fill different shades of the new colour automatically, according to the different shades of the target colour affected by the threshold value.
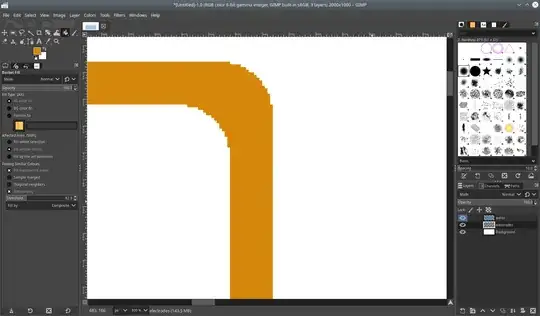
As an example of what I would like to avoid, here's an image:
As you can see, the desired colour for the object is all uniform, which gives it an undesired rough and pixelated look. How do I avoid this?
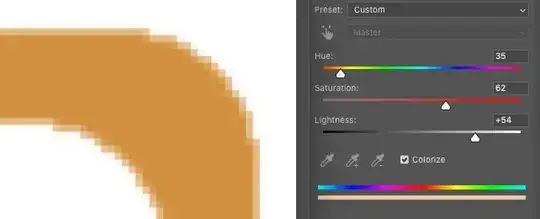
P.S. I would have liked to graphically show what effect I want to achieve, but if I could show you, using an image that I've created, then there would be no need for the question.


