7

I have a new Surface Pro 11 Snapdragon running Windows 11 Home (24H2). I would like to print on my Brother MFC-J4620DW printer, but Brother does not supply any printer drivers that work on ARM for that model.

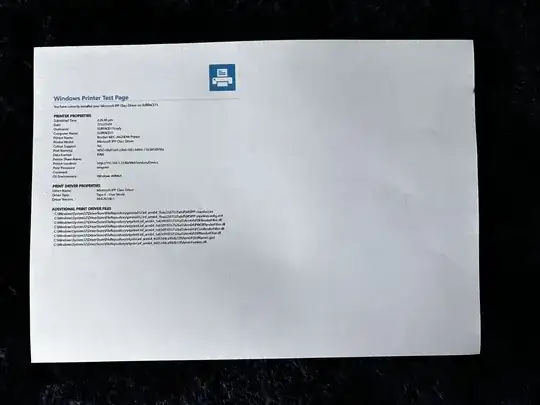
The Microsoft IPP Class Driver that Windows defaults to does not work correctly. It prints A4 pages scaled down to A5 and turned sideways, leaving half the page blank.

test page with Microsoft IPP Class Driver

I set up another Windows 10 computer on my home network and shared the printer, unchecking the "Render print jobs on client computer" option.

The Surface 11 can successfully see and connect to the printer, but it tries to consult Windows Update to install a driver, which, of course, doesn't exist.

Is there any way that I can send print jobs from the Surface 11 to the printer without installing a driver? Any way to print to that printer correctly with the default Windows supplied drivers?

Screenshot of hosting computer on Windows 10:
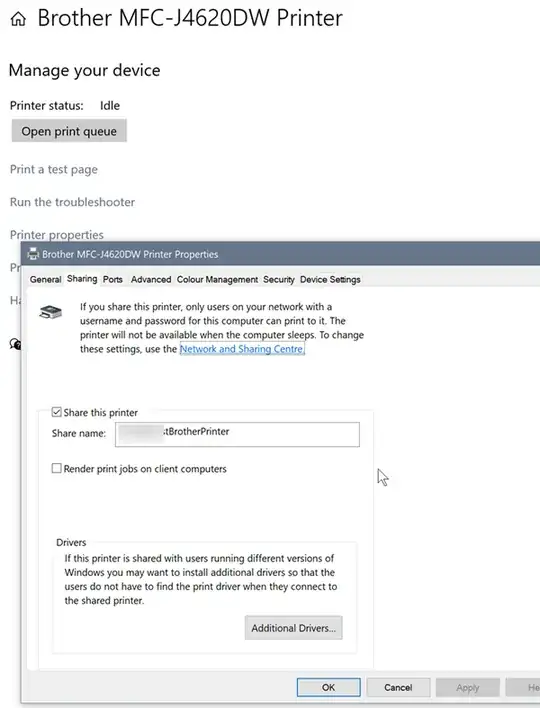
Screenshot of hosting computer on Win 10

Screenshot of Surface, trying and failing to install a driver:
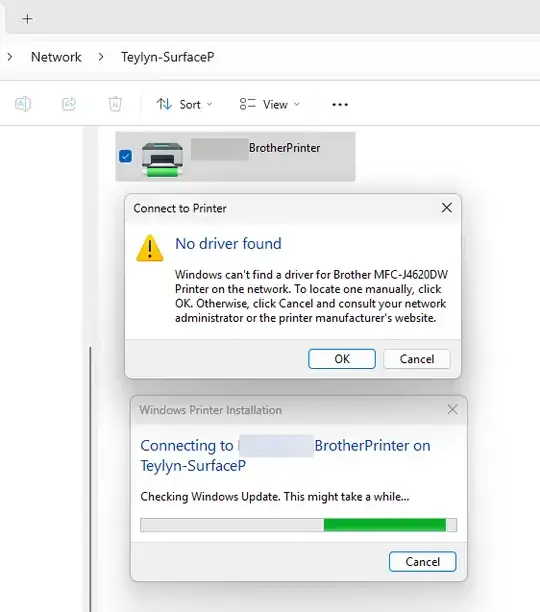
Screenshot of Surface, trying and failing to install a driver

teylyn
  • 23,615

1 Answers1

7

I found a way to print directly from the Surface Pro 11 Snapdragon to the Brother printer without installing the original Brother drivers.

I'm writing up the steps for non-technical people, trying to avoid too much tech jargon, so that a regular Windows user can hopefully follow this.

Overview

This approach uses the original Brother Printer drivers and connects directly to the printer via its IP address. To enable this, we need to open up a few TCP Ports in the Defender Firewall and ensure all services are running.

Steps

  1. Figure out the IP address of your printer.

    If the printer is recognised and installed with the Windows IPP Driver, go to Settings > Bluetooth & Devices > Printers, select the printer and open the Printer Properties. The IP address is in the "Location". It looks something like http://192.168.1.33:80/WebServices/Device . Write down the IP address, which in this case is 192.168.1.33

  2. Open up some ports on the firewall. The article in the link below has the detailed steps and screenshots

    I opened up the ports 80, 631, 9100, 515, 443 but only for the Private network, not public or organisational. I'm not sure which of these ports really need to be opened, but I found these in a post on Medium and it worked for me. Follow this link to see How to open ports in the Defender Firewall

  3. Open up Task Manager and click the Services tab. Scroll down to the services that start with "Print" and make sure all of them are started. If they are stopped, start them by right-clicking on the service name and selecting Start

  4. Delete the printer with the non-working IPP class driver

  5. Add a new printer and configure it manually as follows.

    • In Settings, go to Printers and click Add Device.
    • Ignore the printer that gets presented by Windows and wait for the "Add new device manually" command to show up.
    • Select "Add a printer using an IP address or host name" and click Next
    • In the drop-down for "Device type" select Autodetect.
    • In the Hostname or IP address type the IP address you determined in step 1. - In the Port name type 80.
    • Check the box to "Query the printer and automatically select the driver to use".
    • Click Next and confirm the dialogs.
    • Print a test page with the button offered in the last dialog.

My Test page says "You have correctly installed your Brother Generic Jpeg Type1 Class Driver on MyComputerName" and it's properly printed with correct scale and orientation. Below the printer properties, the test page lists a bunch of additional print driver files that point to

C:\Windows\System32\DriverStore\FileRepository\prnbrcl1.inf_arm64_c6d007afafda44e0

and

C:\Windows\System32\DriverStore\FileRepository\ntprint.inf_arm64_cbd3852fd8b8f20a

and subdirectories called Arm64, so apparently generic Brother drivers for ARM devices do indeed exist.

Giacomo1968
  • 58,727
teylyn
  • 23,615