12

My ultimate goal is to get meaningful snapshots from videos that are either 30 min or 1 hour long. "Meaningful" is a bit ambitious, so I have simplified my requirements.

The image should be crisp - not blurry.

Initially, I thought this meant getting a "keyframe". Since there are many keyframes, I decided to choose the keyframe closest to the third minute of the video, which was generally "meaningful" enough for me. I followed the advice at: FFmpeg command to find key frame closest to 3rd minute

But the problem is that these keyframes are often (not always) blurry. An example is:

enter image description here

I then tried, Meaningful thumbnails for a Video using FFmpeg which did help get more meaningful snapshots, but I still often (not always) got blurry frames like the above.

You will notice that this sort of image is essentially an overlap of 2 different scenes. Sometimes, however, I get images that work for me – like this:
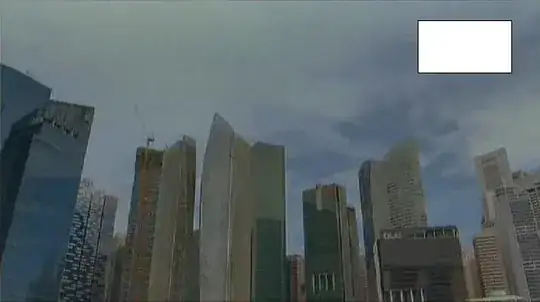
enter image description here

The above image is not very meaningful, but it is crisp.

Ideally, I would like to FFmpeg not to return blurry frames. Alternatively, I would like to use a script to detect blurry frames and select the least blurry from say 5 frames. Does anyone know how to do this?
cnfcnf
  • 263

1 Answers1

9

"Meaningful" is quite subjective but "blurry" is fairly objective and simple to detect.

I had a similar issue and after a little bit of researching ended up with the following algorithm:

  • Determine video file length in seconds.
  • Generate 10 png thumbnails using ffmpeg and scene change detecion with something like:

    ffmpeg -ss {$skip} -i {$input} -vf "select=gt(scene\,0.3)" -r 1 -frames:v 1 {$output}
    

On each iteration $skip is increased by 10% on the video length in seconds. The parameter 0.3 may not be most appropriate for you, but you can play arround with it. This solved the problem with the overlapping scenes and/or completely blurred images.

  • Detect the edges of those 10 thumbnails and downscale them for better performance with ImageMagick:

    convert {$input} -thumbnail {$w}x{$h} -colorspace Gray -edge 1 {$path_to_downscaled_image}
    

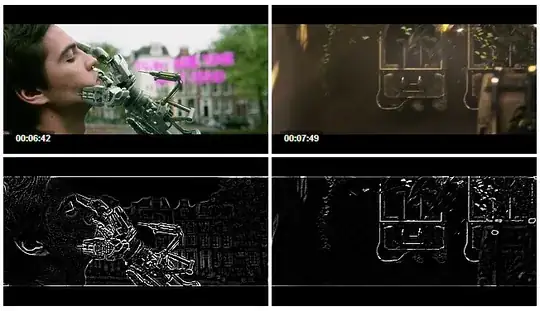
I'm using -thumbnail to scale the image. Then I'm adding a black and white filter. Finally I do the edge detection with a radius of 1. This produces a black and white image only with the edges marked as white. This means that the more white the image has the more edges there are in it. You will get something like this:

enter image description here

  • Identify the resulting black and white images with ImageMagick:

    identify -format '{$format}' {$path_to_downscaled_image}
    

What you should be interested is %[mean] and %[standard-deviation]. Play arround with those and see what suits you best. Just sort all the resulting images by "%[mean] + %[standard-deviation]" for example. Find the same image before we started resizing and filtering it.

  • Finally pick the most "edgy" one, find its original and optionally convert it again:

    convert {$input} -thumbnail {$w}x{$h} -adaptive-sharpen 1.25x0.75 {$final_output}
    

I've found out that -adaptive-sharpen really helps with the end result because it sharpens the images only around those same edges. I tried different geometries and found out that 1.25x0.75 works best for me when I'm scaling down to a quarter of the original resolution.

I've done this in PHP and it takes about 25 seconds for a 12 minute movie to execute which is fine by me.

I hope this was helpful.

nixda
  • 27,634
matthewd
  • 351