When installing Windows 11, many users do not realize the requirement of needing a Microsoft account until asked to sign in. This answer explains a procedure for creating a local account instead. This procedure is to be used at the point where the user is asked to sign in.
This answer was tested using Windows 11 Home version 24H2.
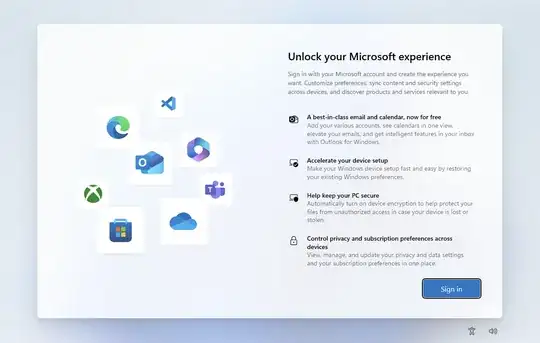
When you reach this screen shown below, select "Sign in".
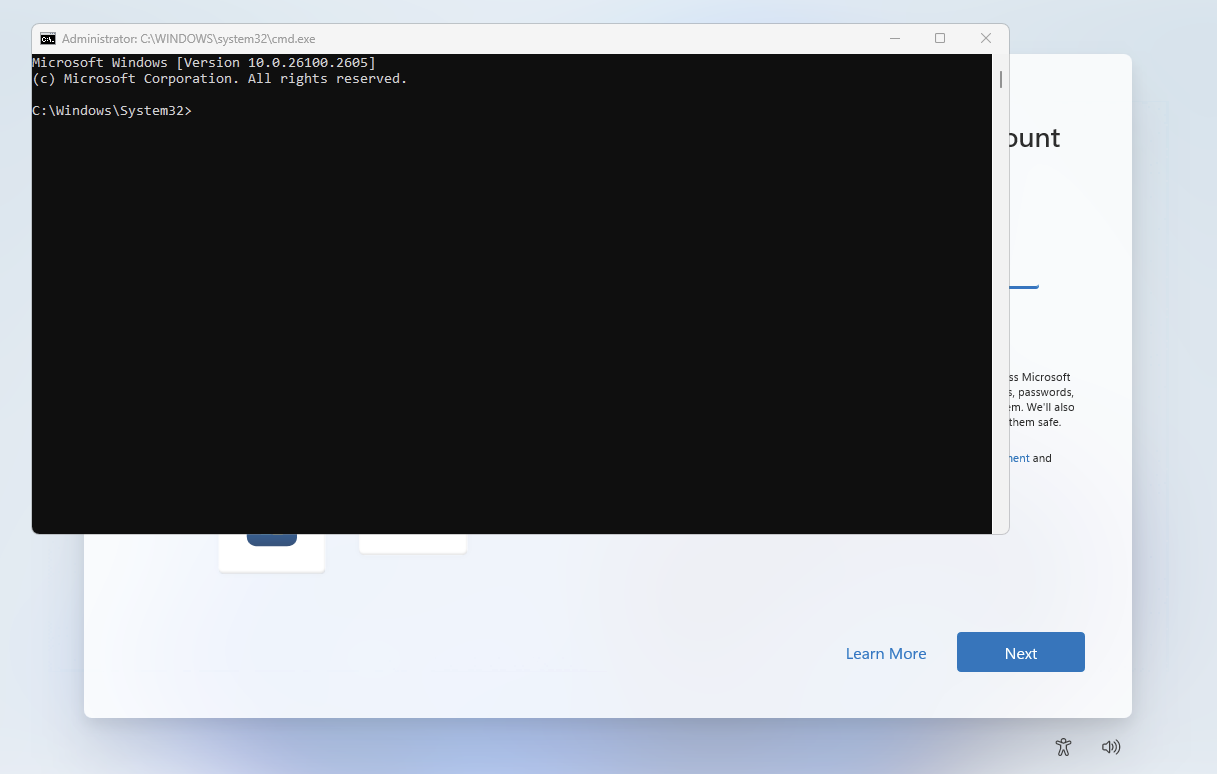
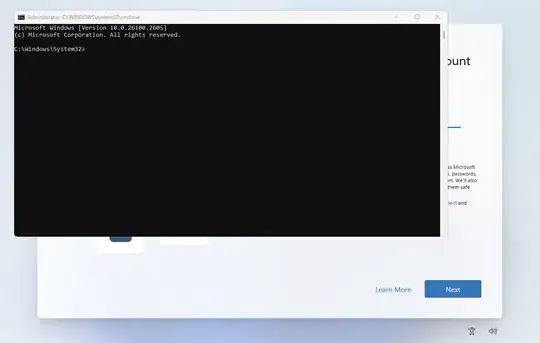
The next screen is shown below. At this point press the key combination shift+F10
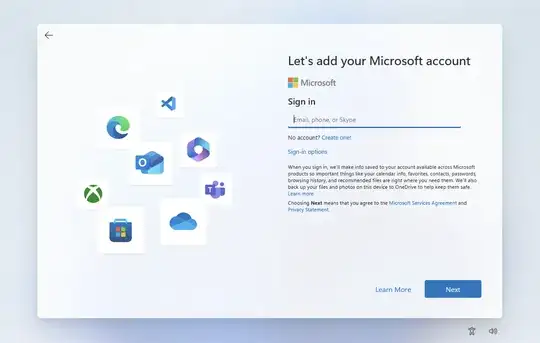
A Command Prompt window should open, as shown below.
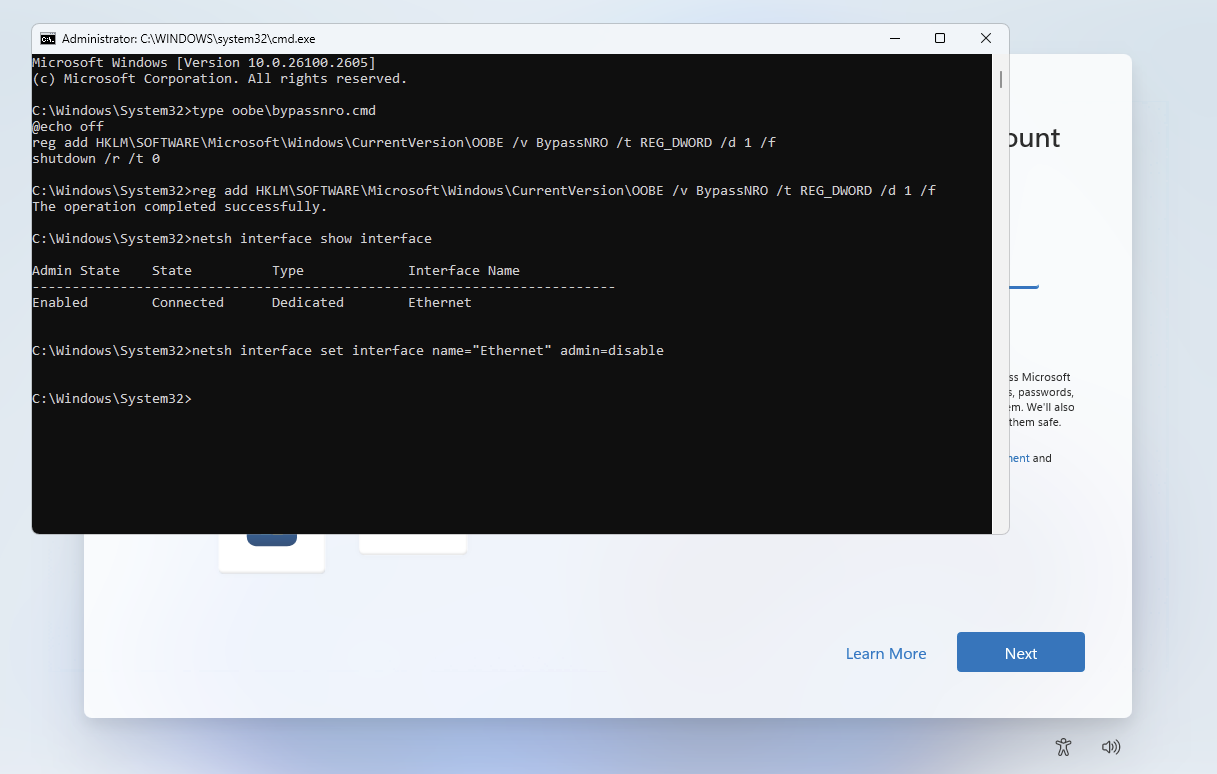
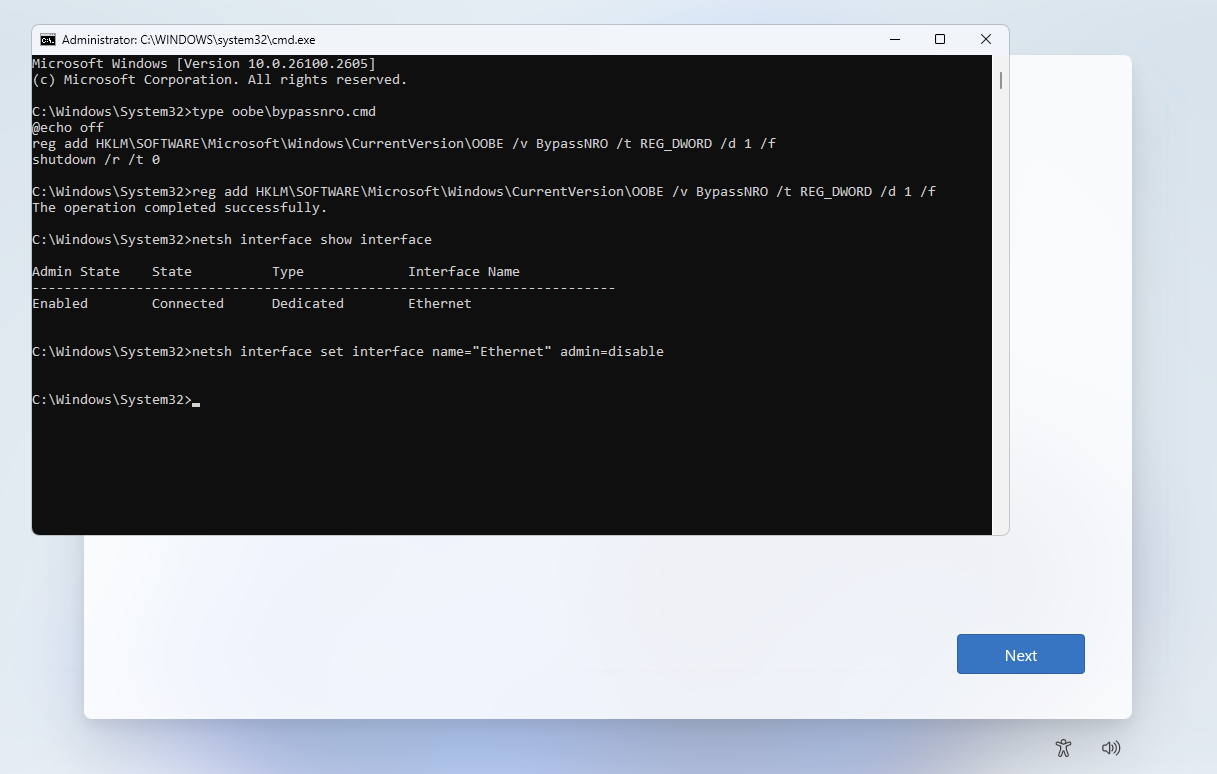
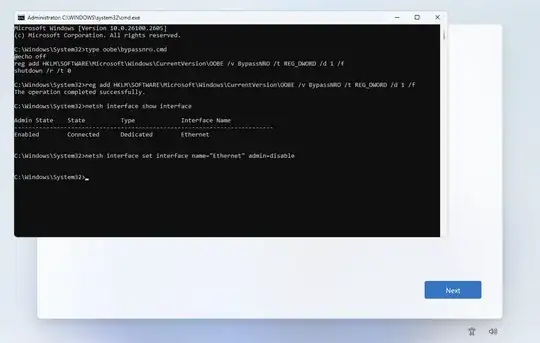
Enter the commands shown below.
type oobe\bypassnro.cmd
reg add HKLM\SOFTWARE\Microsoft\Windows\CurrentVersion\OOBE /v BypassNRO /t REG_DWORD /d 1 /f
netsh interface show interface
Enter the command shown below. If you are using an interface other than Ethernet (such as WiFi), then make the appropriate substitution for the name when entering the command.
netsh interface set interface name="Ethernet" admin=disable
An example is shown below.

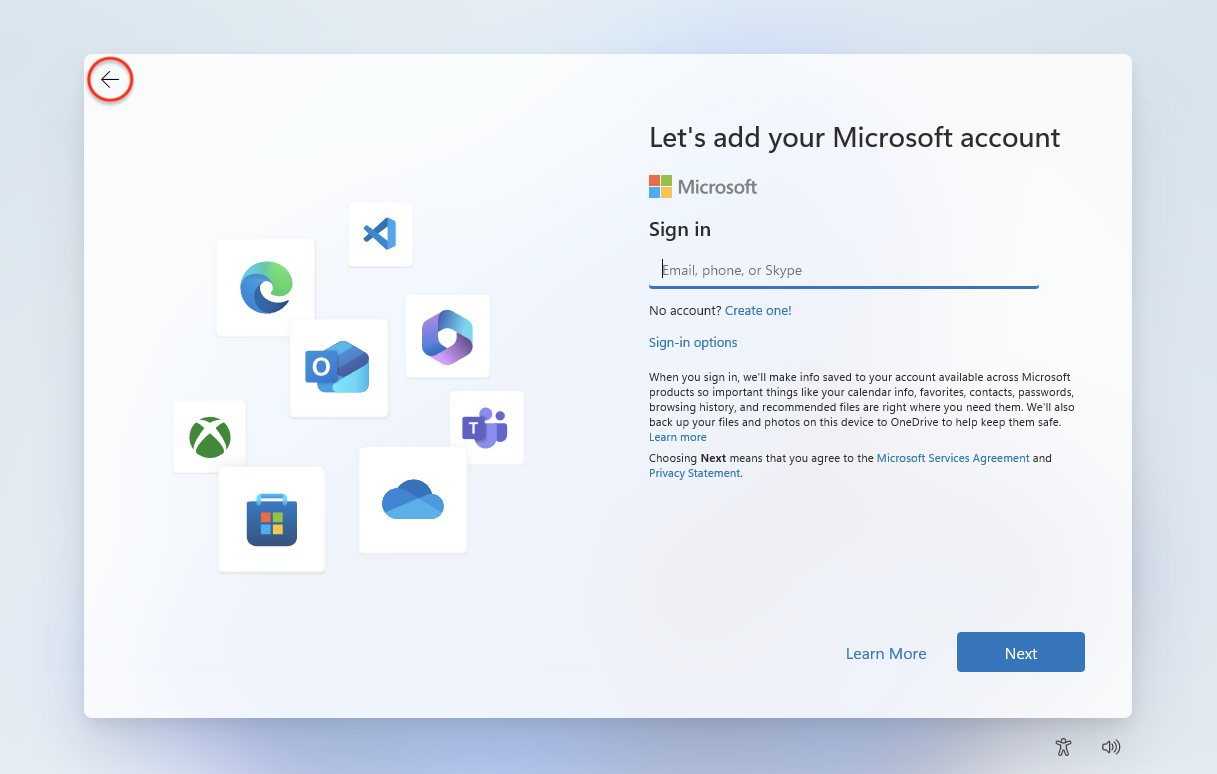
While holding down the alt key, press the tab key once. Afterwards, release the alt key. The Command Prompt window should be hidden, as shown below. Next, select the back arrow shown in the upper left portion of the screen. In the image below, this arrow has been circled in red.

The following screen should appear.

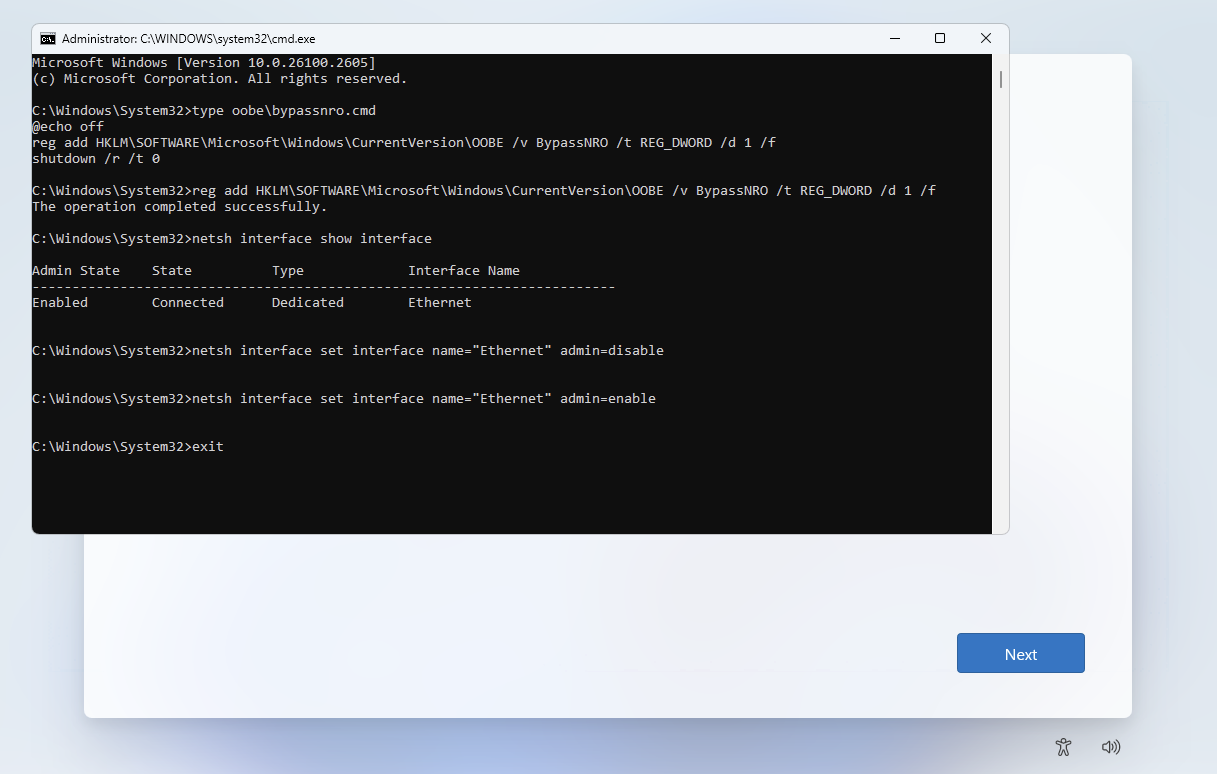
While holding down the alt key, press the tab key twice. Afterwards, release the alt key. The Command Prompt window should reappear, as shown below.
Enter the commands show below. If you are using an interface other than Ethernet (such as WiFi), then make the appropriate substitution for the name when entering the first command.
netsh interface set interface name="Ethernet" admin=enable
exit
An example is shown below.

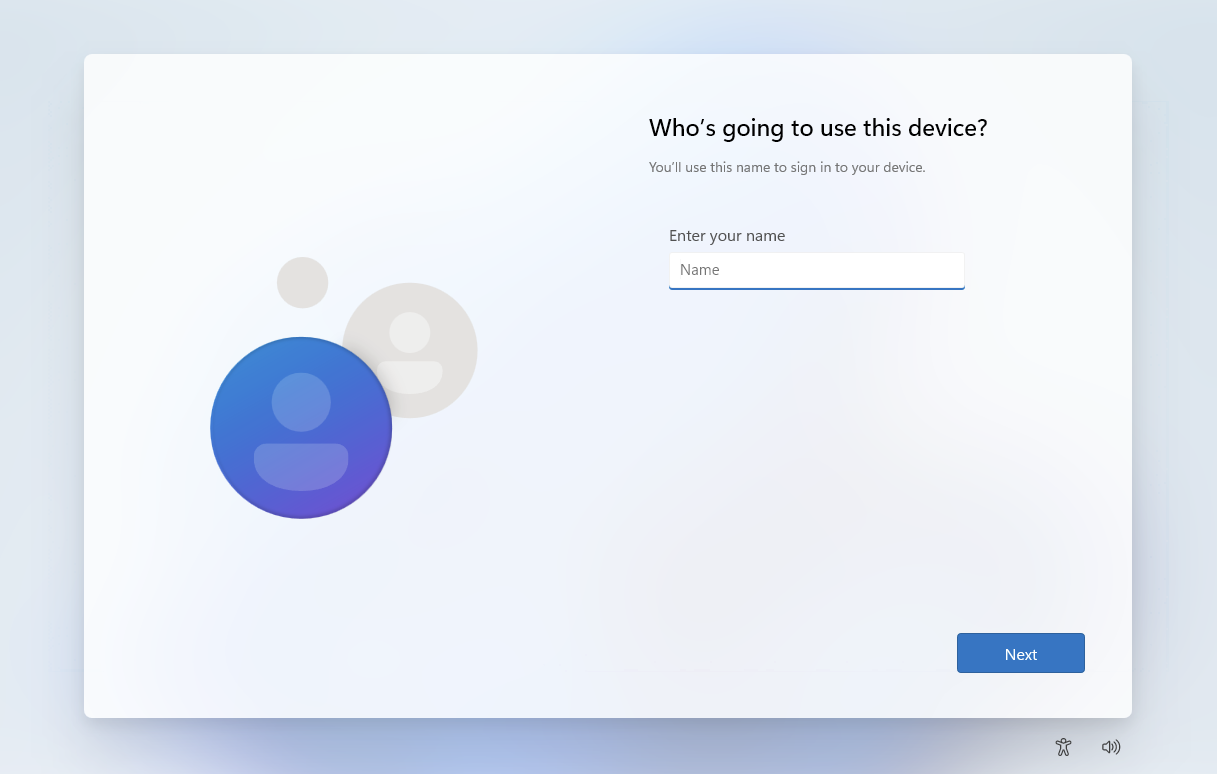
The Command Prompt window should close, as shown below. Proceed and create a local account.