2

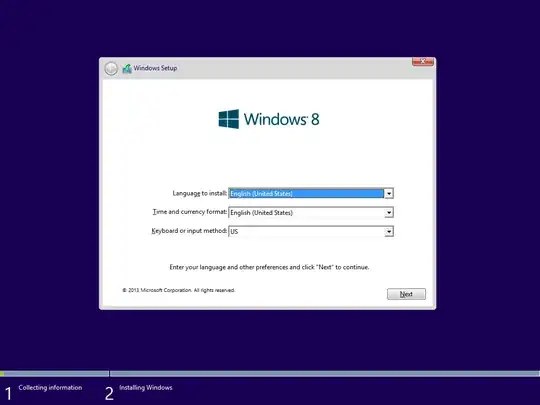
I just build new PC and trying to install Windows 8.1 from DVD (USB DVD ROM). I tried many different ways which from the internet but nothing is working.

First attempt

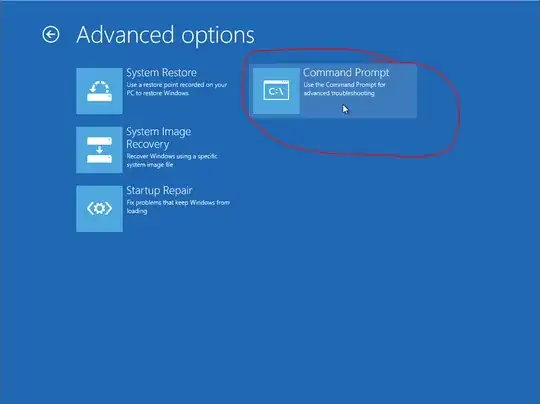
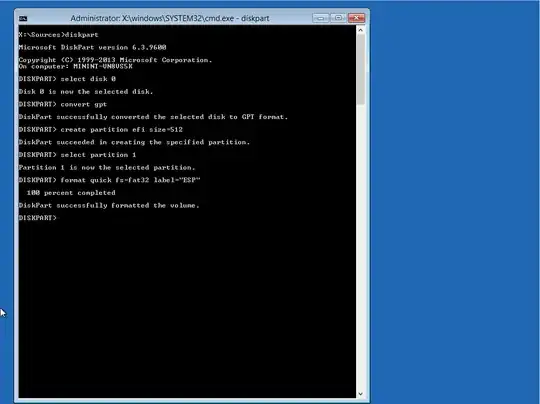
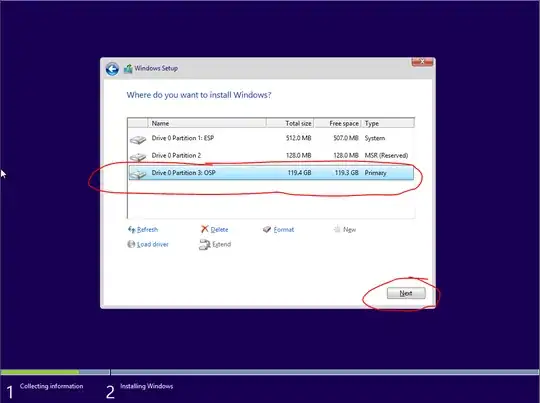
UEFI installation. Boot priority to UEFI CD/DVD ROM, in Windows setup in CMD I create necessary partitions:

select disk 0
clean
convert gpt
create partition primary size=300
format quick fs=ntfs label="Windows RE tools"
assign letter="T"
create partition efi size=100
rem == Note: for Advanced Format Generation One drives, change to size=260.

format quick fs=fat32 label="System"
assign letter="S"
create partition msr size=128
create partition primary
format quick fs=ntfs label="Windows"
assign letter="W" 

Installation continue but after restart it again boot the DVD and start the setup. It won't boot from SSD disk, even if I made it only available option for boot. I presume it the option UEFI Windows Boot Manager is missing and don't know why.

Second attempt

Disable all UEFI boot priorities, left only CD/DVD ROM and create one partition in CMD

diskpart
list disk
select disk n [where n = SSD]
clean
create partition primary
select partition 1
active
format fs=ntfs
assign
exit

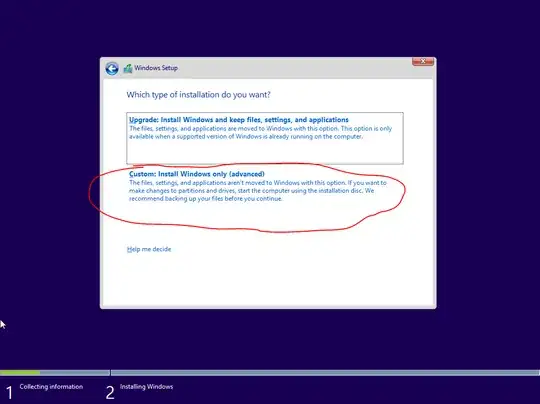
When I get to choose where to install I cannot install on SSD with this error message:

Windows cannot be installed to this disk. This computer's hardware may not support booting to this disk. Ensure the disk's controller is enabled in the computer's BIOS menu.

I don't know what to try next, please help.

HW: Motherboard MSI H97 Gaming 3 SDD INTEL 520 120GB

mascot
  • 121

2 Answers2

1

Go back into diskpart, and clean the disk. Then, continue on with the Windows installation.

When it gets to the point of asking you what disk to install it to, choose the Unallocated Space, and let it create the partition scheme it needs.

The typical Windows Vista/7/8 install requires more than just one giant NTFS volume, although that's what most people just see (since it gets assigned the C:\ usually).

Canadian Luke
  • 24,640
1

It would have been easiest to just leave the disk empty, and let Windows create all the appropriate partitions. However I too prefer to set up the drive manually, that way you can configure it all how you like it.

Install Windows With A Manually Setup Partition Scheme:

step1

  1. Boot up the Windows 8.1 installation disc, enter your desired language, keyboard, time, and currency settings; click Next.

step2 step2b step2c step2d

  1. Click Repair your computer, click Troublshoot, click Advanced options, and then click Command Prompt.

step3

  1. In the Command Prompt, type diskpart, select disk #, convert gpt, create partition efi size=512, select partition 1, and format quick fs=fat32 label="ESP". You will need to substitute disk # for the disk you wish to install on, such as disk 0. Typically an E.S.P. (EFI System Partition) is 100 megabytes, but if you like to multiboot you can run out of room so some people, like me, use a larger size. The E.S.P. is usually labelled as System, at least by Microsoft, but it doesn't matter what you call it; personally I prefer ESP.

step4

  1. In Diskpart, type select disk #, and create partition msr size=128. The M.S.R. (Microsoft Reserved Partition) is used by legacy applications that need hidden sectors, G.P.T.s (GUID Partition Table) do not allow hidden sectors so this partition is used instead.

step5

  1. In Diskpart type select disk #, create partition primary, and format quick fs=ntfs label="OSP". Most people would use the label Windows, but you can call it what-ever you like.

step6

  1. In Diskpart type exit, then in the Command Prompt type setup.exe, and then refill in the language, currency, time, and keyboard settings you want; click Next.

step7

  1. Accept the license agreement, and click Next.

step8

  1. You will want to choose a Custom: Install Windows only (advanced) installation type.

step9

  1. Click on the 3 partition, it should be your primary partition that you previously made, labelled O.S.P., and click Next.

step10 step10b

  1. The installer will copy the files over, and install them; this will take a while. Then the computer will restart, and you can remove the installation disc; the computer needs to boot from your hard drive.

step11

  1. Once Windows boots up it will do some setting up; this will take a few minutes. The computer will reboot, again.

step12 step12b

  1. You will see the loading screen for a few minutes, and then reach the Personalize screen. Choose a color scheme, a name for your computer example, and then click Next.

step13 step13b step13c step13d step13e

  1. On the Settings screen choose Customize, unless you wish to use the Express Settings, and then choose your desired options on each screen presented.

step14 ste14b

  1. When you reach the account creation screen you will be prompted to sign into your Microsoft account, or create one. If you would like to do so proceed, but I will be covering how to use a local account. Please note that using a local account will prevent you from installing apps from the Microsoft Store. To create a local account click create new account. On the Create a Microsoft account screen, do not fill in anything, just click Sign in without a Microsft account.

step15

  1. On the Your account screen you can now create a local account. Pick a username, password, and password hint. Click Finish.

step16 step16b step16c step16d

  1. You will be welcomed, and then Windows will do some more setting up; oooh pretty colors.

step17

  1. You will be automatically logged in, and greeted by the start screen. You have successfully installed Windows 8.1.
Robin Hood
  • 3,501